

Last updated October 31, 2026
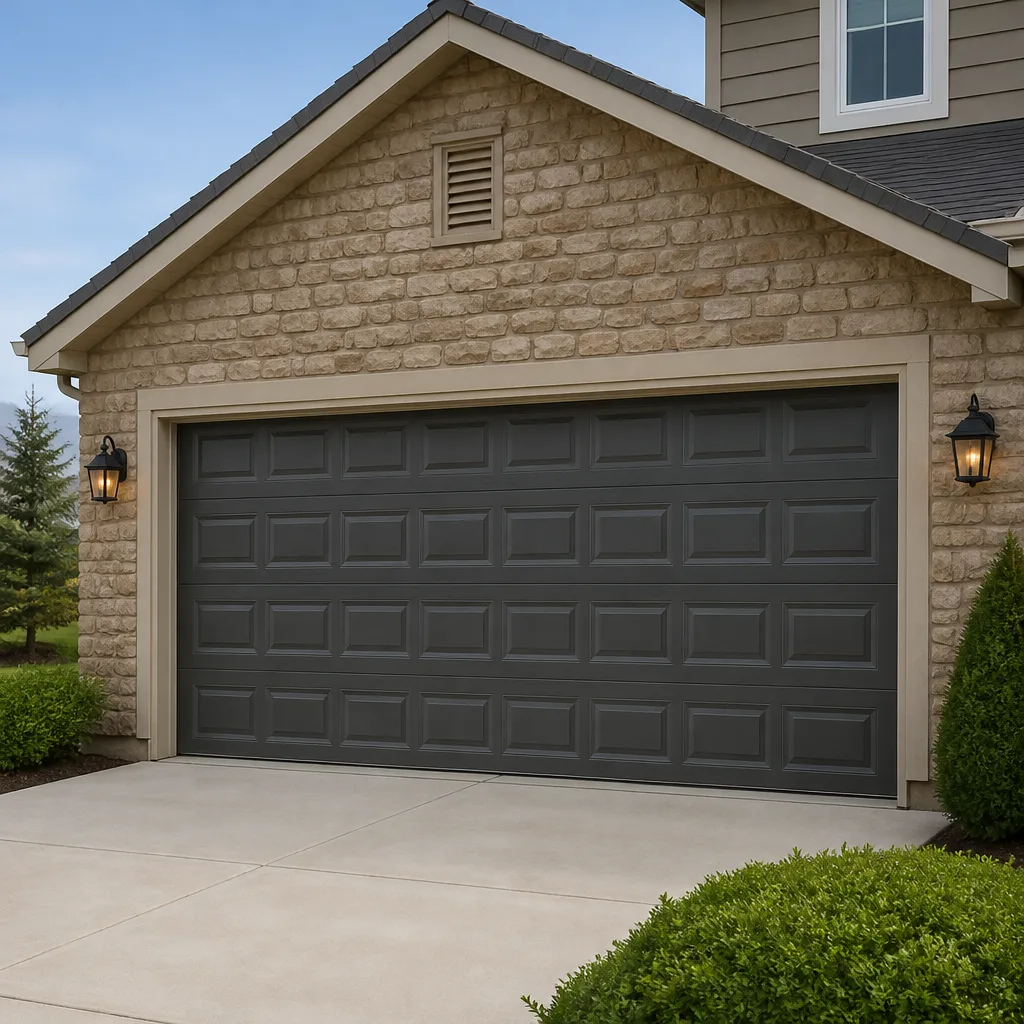 Raised-panel steel
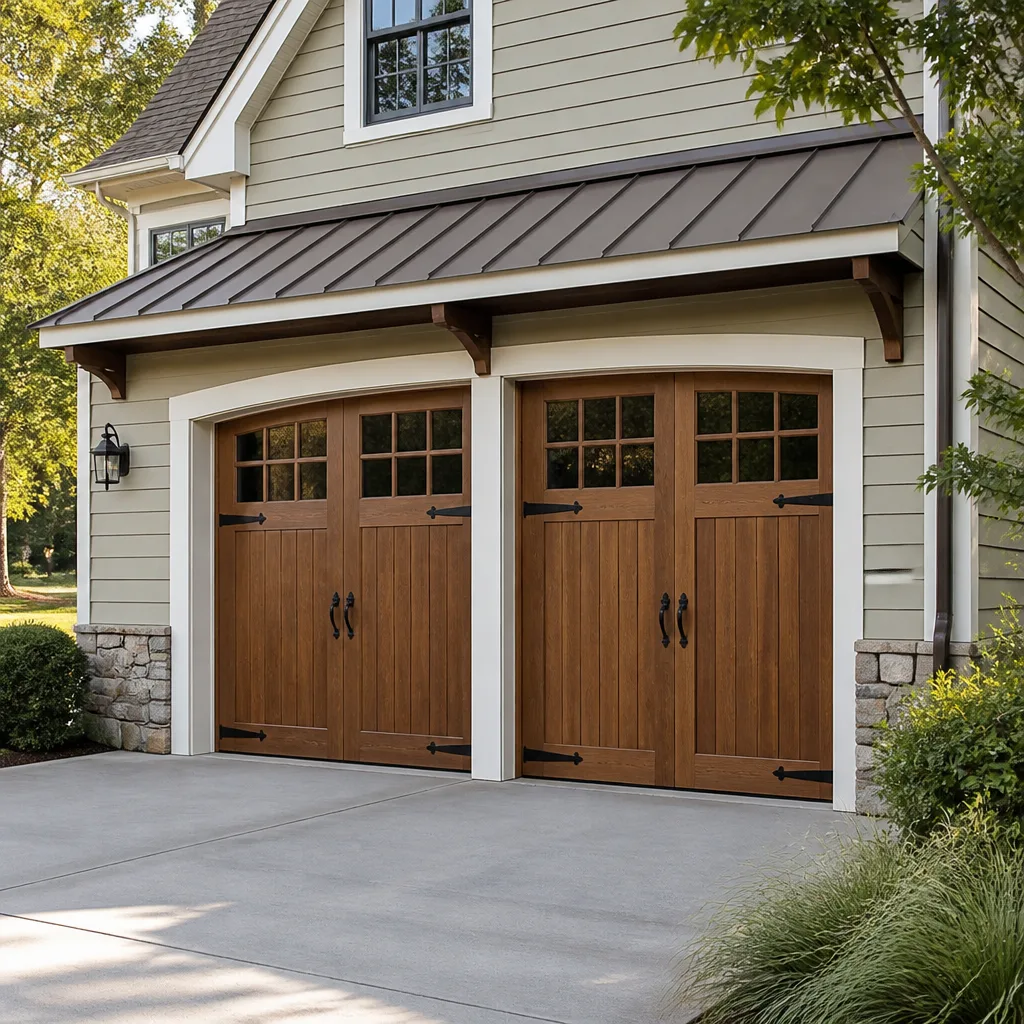 Carriage house
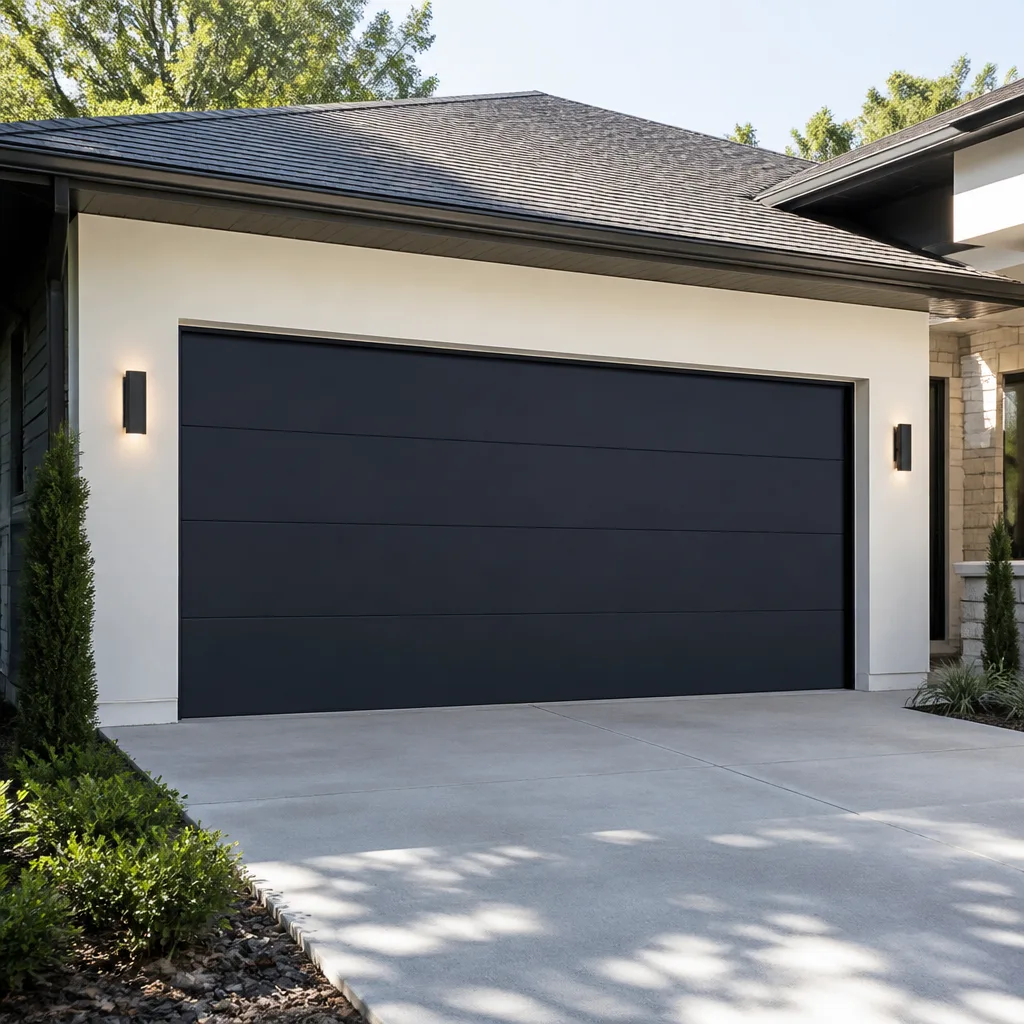 Modern flush
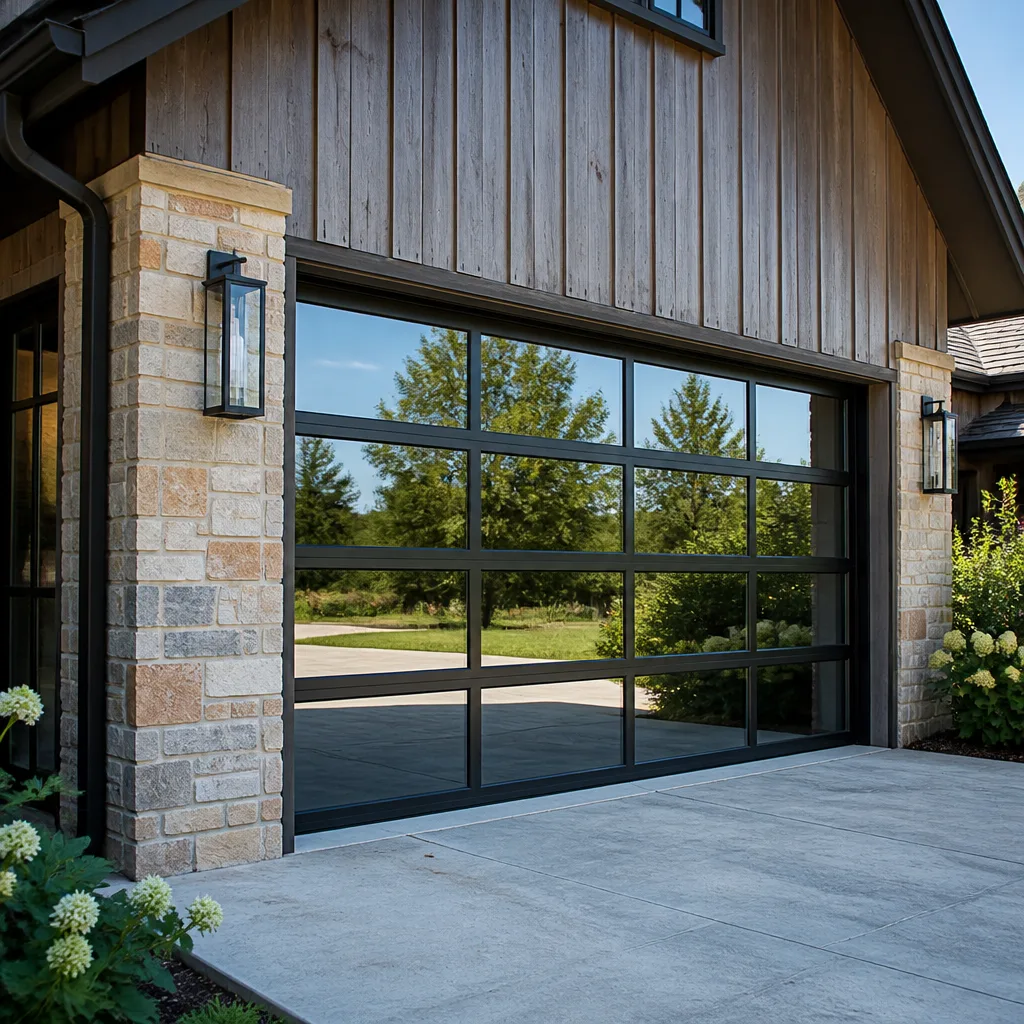 Full-view glass
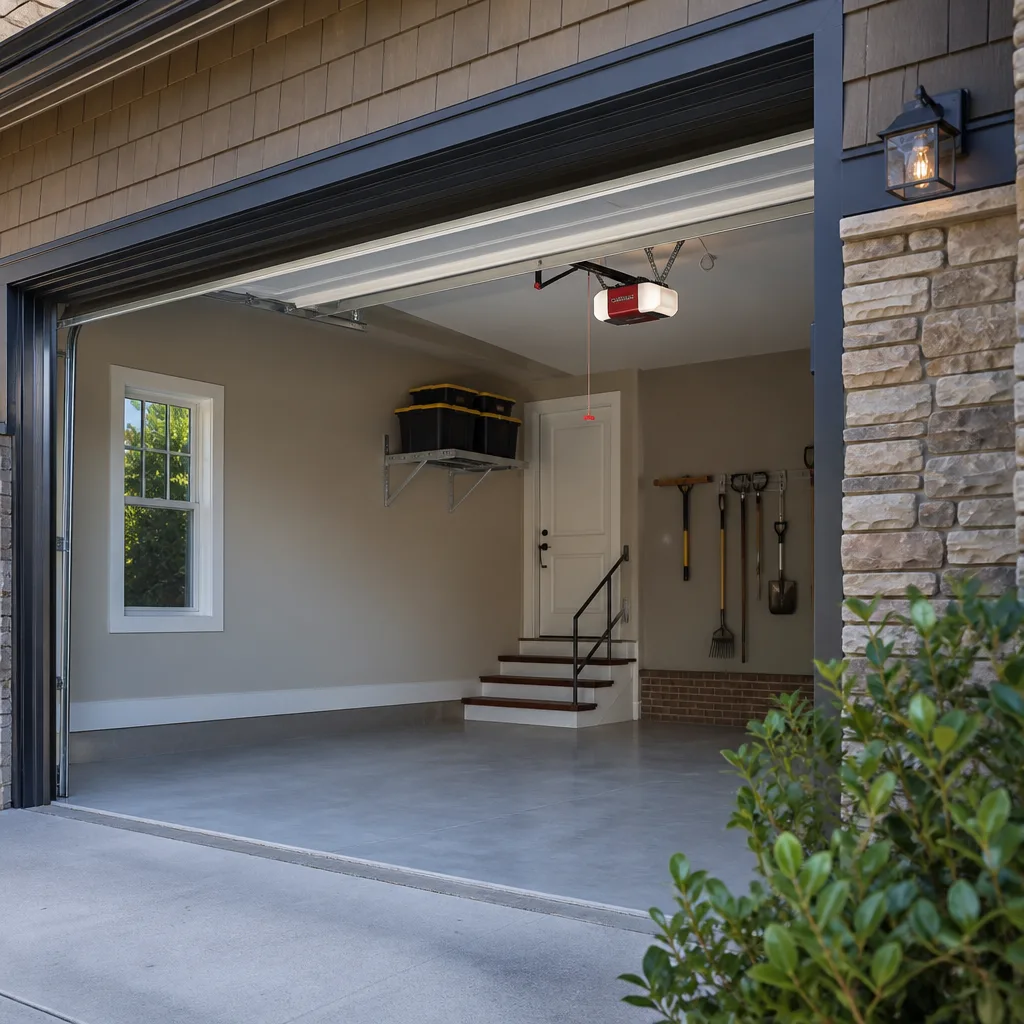 LiftMaster openers
 Chamberlain openers
Full 25-point door and opener safety check with every visit - springs, cables, rollers, tracks, and your LiftMaster or Chamberlain opener included
You get a price before we start. It does not change when the truck arrives.
Get your free estimateGarage Door Repair Troubleshooting: Common Problems and How to Fix Them
A door that reverses before closing is almost never a sensor problem. It’s usually a limit switch setting or an obstruction the sensors can’t see. Misdiagnosing it costs you a service call you didn’t need. This guide gives you a repeatable diagnostic sequence used by the technicians at our Garage Door Repair services on every call we run in Torrance. You’ll learn which problems you can fix in ten minutes with a screwdriver, and which ones require a trained professional with the right tools and experience.
Styles & brands we work with
Quick Answer
Most garage door problems fall into two categories: issues you can diagnose and fix yourself in under ten minutes (blocked sensors, dead remote batteries, misaligned tracks, wrong opener settings), and issues that require professional repair—see Garage Door Warning Signs: A Torrance Homeowner’s Reference Guide for when to call (broken springs, snapped cables, bent tracks, opener motor failure). Start by observing exactly what the door does when you press the button. That symptom points to the system at fault. If the problem involves springs, cables, or the opener’s internal electronics, stop and call a pro.
Table of Contents
- The Symptom-First Diagnostic Sequence
- Five Things to Check Yourself Before Calling a Technician
- Reading Opener Error Codes: LiftMaster, Chamberlain, Genie, and Craftsman
- Why a Slow Door and a Loud Door Point to Different Systems
- Door Reverses Before Closing: The Real Causes
- Door Won’t Open at All: A Step-by-Step Isolation Process
- Stop Signs: When DIY Troubleshooting Ends
- Common Mistakes to Avoid
- When to Call a Professional
- Frequently Asked Questions
- The Bottom Line
The Symptom-First Diagnostic Sequence
Most homeowners start troubleshooting by guessing at parts. Guessing wastes time because the same part can produce different symptoms depending on how it fails. The better approach: start with what the door is doing, then trace backward to the system responsible for that behavior. This is the exact sequence we use on service calls in Torrance, and it works whether you own a Wayne Dalton, a Raynor, or any other brand.
Step 1: Write down the exact symptom. Not “the door is broken.” Write “the door goes up six inches and stops” or “the door closes halfway then reverses.” The specificity matters because different failures produce different movement patterns.
Step 2: Identify which system controls that movement. Every garage door has four systems: the door itself (panels, rollers, hinges), the spring assembly (torsion or extension springs), the track system (vertical and horizontal rails), and the opener (motor, drive mechanism, electronics). A door that stops six inches up points to spring or track issues. A door that reverses at the bottom points to opener settings or sensor input.
Step 3: Run the isolation test. Pull the emergency release cord (the red handle hanging from the opener rail). This disconnects the door from the opener. Now try lifting the door by hand. A door that opens smoothly by hand but won’t move with the opener tells you the opener is the problem. A door that’s heavy or stuck when you try to lift it manually tells you the door or spring system is the problem. This single test eliminates half the possible causes.
Step 4: Decide if the fix is within your skill level. If the isolation test points to the opener and the opener has power, you can likely fix it yourself. If it points to springs or cables, you’re done troubleshooting. Call a professional.
In Torrance’s coastal climate, we see a pattern worth mentioning: salt air accelerates rust on rollers and hinges near beach-adjacent neighborhoods. A door that sticks or grinds in those areas often has corroded rollers rather than a mechanical failure. Worth checking before assuming the worst.
Five Things to Check Yourself Before Calling a Technician
These five checks take less than ten minutes total and solve a surprising number of service calls before they happen. Each has a pass/fail criterion. If a check fails, you know what to fix. If it passes, move to the next one. If all five pass and the door still misbehaves, you’ve done useful diagnostic work that will speed up any professional repair call.
1. The Photo Eye Sensors
These are the small units mounted on each side of the door track, about six inches off the ground. They project an invisible beam between them. If anything blocks that beam, the door won’t close. Pass/fail: Look at the small LED light on each sensor. Both should be lit and steady. If one blinks or is dark, the sensors are misaligned or dirty. Wipe the lenses with a dry cloth and gently adjust the sensor brackets until both lights glow steady. This fixes roughly 30% of “door won’t close” calls.
2. Remote and Wall Button Batteries
Dead batteries mimic opener failure perfectly. Pass/fail: Press the wall button. If the wall button works but the remote doesn’t, replace the remote battery. If neither works, check the opener’s power source before blaming the opener. A tripped GFCI outlet or a flipped breaker cuts power to the opener while the rest of the garage still has lights.
3. Track Alignment and Debris
The vertical track sections on each side of the door should be plumb (perfectly vertical). Pass/fail: Run your hand along the track (with the door closed). Look for gaps between the track and the wall, loose bolts, or visible bends. Clear out any leaves, cobwebs, or debris packed into the track channel. In Torrance, eucalyptus leaves and fine grit from coastal winds find their way into tracks regularly.
4. The Emergency Release Cord
That red cord hanging from the opener rail is not decorative. If it gets pulled accidentally, the door disconnects from the opener and runs free on its tracks. Pass/fail: Pull down slightly on the cord. You should feel resistance. If the cord hangs loose and the opener runs but the door doesn’t move, the release mechanism tripped. Re-engage it by pulling the cord toward the door until you hear a click, then run the opener through a full cycle.
5. Opener Force and Limit Settings
Every opener has two adjustable settings: force (how hard the motor pushes) and limits (how far the door travels). Pass/fail: Find the adjustment dials or buttons on the opener unit (usually on the back or side). If your door reverses before reaching the floor, the down limit may be set too far or the force setting too low. Make small adjustments according to your opener’s manual. If you don’t have the manual, most manufacturers post them online as PDFs. This is a one-screwdriver fix on most LiftMaster, Chamberlain, Genie, and Craftsman units made in the last 20 years.
All five pass and the door still acts up? You’ve ruled out the simple stuff. The problem is in a system that requires real repair work. Move to the stop signs section below.
Reading Opener Error Codes: LiftMaster, Chamberlain, Genie, and Craftsman
Your opener speaks to you through blinking lights. Most homeowners ignore those blinks because they’ve lost the manual. Here’s how to read the codes on the brands we service most often in Torrance. These are the exact codes we check first when a customer describes an opener that runs but doesn’t move the door.
Chamberlain and LiftMaster (Same Parent Company, Same Codes)
Both brands use the same diagnostic light system on the opener’s back panel. The light blinks in patterns that correspond to specific faults.
- 1 blink: Sensor wire open or disconnected. Check the sensor wiring at both sensor heads and at the opener terminals.
- 2 blinks: Sensor wire shorted or sensor misaligned. Realign sensors and check for pinched wiring.
- 3 blinks: Door control or wall button wiring short. Check the wall button wire for damage.
- 4 blinks: Sensor eyes misaligned or obstructed. Clean lenses and realign.
- 5 blinks: Motor overheated. Let the opener cool down for 15 minutes, then retry. Frequent 5-blink codes suggest the door is too heavy for the opener, often because springs are failing.
Genie Openers
Genie uses a different system. The round LED on the opener blinks in two-digit patterns: a long blink equals the first digit, a short blink equals the second.
- One long, one short (1-1): Remote not programmed or battery dead.
- One long, two short (1-2): Limit settings need reprogramming.
- Two long, one short (2-1): Door is binding in the tracks. Check track alignment and roller condition.
- Three long, four short (3-4): Thermistor failure. This requires opener board replacement.
Craftsman Openers
Craftsman openers made before 2010 used the same codes as Chamberlain. Newer Craftsman units (sold through Lowe’s) use a simplified system: a solid green light means the opener is working correctly, a blinking red light means a sensor fault, and a blinking green light means the door is out of balance or the springs need attention. On any Craftsman unit, if the light blinks five times, check the door’s balance by pulling the release cord and lifting the door manually. A heavy Craftsman door is a spring problem, not an opener problem.
Garage Door Opener Repair in Torrance is the service line we run for exactly these diagnostics when the code says the problem is electronic rather than mechanical. We work on LiftMaster, Chamberlain, Genie, Craftsman, and every other major brand, so the code reading is the same whether we do it or you do it.
Why a Slow Door and a Loud Door Point to Different Systems
A slow door and a loud door feel like the same problem to a homeowner. They aren’t. They point to completely different systems, and fixing one won’t fix the other.
A slow door is usually a spring problem or an opener problem. Torsion springs do the heavy lifting. The opener motor just guides the door. When torsion springs lose tension (which they do gradually over 7-10 years), the opener works harder to move the same door. That extra strain slows everything down. In Torrance’s coastal air, spring corrosion accelerates this process: rust pitting creates weak spots that reduce spring tension faster than inland dry air.
A loud door is usually a roller, hinge, or track problem. Metal rollers grinding on metal tracks create noise. Worn nylon rollers rattle. Loose hinges squeak. A door that’s getting louder over time but still moves at normal speed is telling you the moving parts are wearing out, not that the spring system is failing.
Here’s the diagnostic difference in practice:
- Slow door + smooth movement = likely spring tension loss. Call a professional.
- Slow door + grinding or groaning = possibly both spring and roller issues. Call a professional.
- Normal speed + loud rattle or squeak = roller and hinge wear. This is repairable, often with replacement rollers.
- Intermittent slowness + opener motor hum = opener drive gear wear or motor bearing failure. Call a professional.
One more Torrance-specific note: garage doors in older neighborhoods with original wooden doors face different issues than newer steel doors. Wood absorbs coastal moisture and swells slightly, which changes how the door sits in the tracks. A wooden door that was perfectly balanced in summer might rub in winter. That rubbing creates noise and slows the door, but it’s a door fitment issue, not an opener or spring failure.
Door Reverses Before Closing: The Real Causes
We opened this guide with a claim that deserves deeper treatment. A garage door that reverses before fully closing is one of the most common complaints we hear in Torrance, and the fix is almost never the photo eye sensors. Here’s what actually causes that reversal.
Cause 1: The down limit is set too far. Your opener’s down limit tells the motor where “floor” is. If the limit is set slightly too far, the door touches the ground and the opener feels resistance it interprets as an obstruction. It reverses. The fix: adjust the down limit setting so the door seals against the floor without pressing into it.
Cause 2: The close force is set too low. The force setting controls how much resistance the opener accepts before reversing. As doors age and tracks collect grit, the door takes more force to close. A force setting that worked three years ago might now be too low. The fix: increase the close force in small increments and test after each adjustment.
Cause 3: The door is out of balance. A properly balanced door will hold position halfway open when released from the opener. If it drops or rises on its own, the springs are failing or need adjustment. An unbalanced door confuses the opener’s force sensors because the door’s weight shifts unpredictably during travel. The fix: spring replacement or adjustment by a pro.
Cause 4: Actual sensor obstruction you can’t see. The sensor beam is invisible. It can be interrupted by something as small as a leaf, a spider web, or a bent sensor bracket that knocks the beam out of alignment by a fraction of an inch. Run your hand along the beam path and clean both sensor lenses even if the LEDs look lit.
Door Won’t Open at All: A Step-by-Step Isolation Process
A door that won’t open at all is the most frustrating symptom because it stops everything. Here’s the exact isolation sequence we use on service calls. Run these steps in order.
- Check power to the opener. Is the opener’s LED light on? If not, check the outlet (many garages have GFCI outlets that trip silently), the breaker panel, and any wall switch that controls the opener outlet. This fixes it more often than any other step.
- Press the wall button. If the wall button works but remotes don’t, you have a remote programming or battery issue, not an opener failure. Reprogram the remotes after replacing batteries.
- Pull the emergency release cord and try to lift the door manually. A door that opens smoothly by hand tells you the door and springs are fine and the problem is the opener. A door that won’t budge or feels extremely heavy tells you the springs have failed. Don’t force it.
- Look at the opener’s drive mechanism. Chain drive openers have a chain running along the rail. Belt drives have a rubber belt. Screw drives have a threaded rod. If the chain or belt is loose, detached, or broken, the opener can’t move the door.
- Listen for the motor. Press the button and listen. A humming sound with no movement means the motor is running but the drive system is disconnected or the door is too heavy. A click with no hum means the opener board is likely failed. No sound at all means no power or a dead opener.
If you reach step 5 and hear a hum with no movement, stop troubleshooting. That hum often means a broken spring has dropped the door’s full weight onto the opener, and continuing to run the motor will damage the opener’s gear train.
Stop Signs: When DIY Troubleshooting Ends
Some garage door problems look simple and aren’t. The line between “I can fix this” and “call a professional” isn’t about skill level. It’s about risk. Here are the specific conditions where troubleshooting should stop, explained by what can go wrong.
Broken torsion springs. Torsion springs are the tightly wound coils mounted above the door opening. They store enormous energy and release it catastrophically when they break. A torsion spring failure sounds like a gunshot. If you see a gap in a torsion spring or find a broken coil on the garage floor, do not attempt any repair. The spring needs replacement by someone with the winding bars and the training to do it safely. This is not a DIY job under any circumstances.
Snapped lift cables. The cables run along each side of the door and connect the spring system to the bottom brackets. If a cable snaps, the remaining cable is holding uneven weight, and the door can slide sideways out of the tracks. A door that looks tilted or wobbles when moving may have a cable issue. Step back and call a pro.
Bent track sections or door panels. A garage door that came off its tracks, even partially, involves hundreds of pounds of weight under spring tension. Straightening a bent track with a hammer doesn’t work because the heat from hammering weakens the metal. The track needs replacement and the door needs rebalancing.
Any door that sits half-open and won’t move with the release cord pulled. This indicates a structural issue: the door is jammed, the springs are bound, or something inside the track system is wedged. Forcing it risks the door falling suddenly.
Opener electronics with visible scorch marks or burning smell. That’s an electrical fault, not a mechanical one. Unplug the opener and leave it unplugged until a professional looks at it.
The practical rule: if your repair involves winding, unwinding, removing, or adjusting anything under spring tension, or anything that requires the door to be held in position while you work underneath it, that’s professional territory.
Common Mistakes to Avoid
- Spraying WD-40 on everything. WD-40 is a solvent, not a lubricant. It temporarily quiets a squeak by washing away whatever lubricant was there, then evaporates. Use white lithium grease on metal-to-metal contacts and silicone spray on nylon rollers. WD-40 on a torsion spring does nothing except make a mess.
- Adjusting the spring tension without understanding what you’re adjusting. Torsion springs are wound under extreme tension. One wrong move with a winding bar can cause serious injury. If you don’t know the exact winding and unwinding procedure for your spring type, don’t touch it.
- Replacing the opener when the door is unbalanced. A new opener pulling on an unbalanced door will fail the same way the old one did. The door balance tells you about spring health. Fix the springs first, then evaluate the opener.
- Ignoring a noisy door until it stops working. Noise is a warning sign. A loud door doesn’t get better on its own. The parts making noise (rollers, hinges, springs) are wearing out and will eventually fail. Replacing worn rollers costs much less than replacing a bent track or a sheared cable.
- Testing sensors by waving your foot through the beam. This tells you the sensors detect something, but not that they detect it reliably. A sensor on the edge of alignment works intermittently and gives you false confidence. The correct test is the LED light check described above.
- Watching YouTube videos for spring replacement. There are videos out there that make torsion spring replacement look straightforward. What they don’t show is the years of practice behind the technique. The winding process is unforgiving of errors, and the margin for error is narrow. This is the single most dangerous DIY project a homeowner can attempt in the garage.
- Delaying a service call because “it still works.” A door that works intermittently or makes new noises is telling you something is failing. Every week of delay adds wear to the components that are still working. By the time the door stops completely, the repair is bigger than it would have been.
When to Call a Professional
After all that troubleshooting, here’s the honest bottom line: if the problem involves springs, cables, track damage, or opener electronics, call someone who does this work every day. For help choosing the right pro, see How to Hire a Garage Door Contractor in Torrance: A Step-by-Step Guide. The diagnostic work you’ve done still matters. Being able to describe symptoms precisely (“the door reverses at the halfway point, and I already checked the sensors and cleared the tracks”) gets you a faster, more accurate repair. Anvil Garage Door Repair offers free estimates in Torrance, and we don’t push replacements when a repair will do. Call (877) 705-2052 to describe what your door is doing, and we’ll tell you what it sounds like over the phone before we ever schedule a visit.
Frequently Asked Questions
The down limit is set too far, the close force setting is too low, or the door is out of balance because springs are failing. Start by adjusting the down limit and close force in small increments. If the door still reverses, check the spring balance by pulling the release cord and lifting the door halfway by hand.
A broken torsion spring usually announces itself with a loud bang that sounds like a firecracker. Visually, you’ll see a gap in the spring coil above the door or a piece of coiled metal on the garage floor. A broken extension spring will hang loose along the track. If you see either, stop using the door immediately and call a professional.
Technically yes, on most brands including LiftMaster, Chamberlain, and Raynor. The mechanical installation is straightforward with basic tools. The challenges are balancing the door to match the opener, programming the travel limits and force settings correctly, and ensuring the safety reversal system works properly. Many homeowners install the opener fine but never get the settings dialed in, which leads to premature opener failure. If you’re not comfortable with the programming sequence, hire it out.
Sudden noise usually means a roller is seizing, a hinge is loose, or a spring is wearing unevenly. Sudden new grinding sounds often come from metal rollers that have lost their bearings. If the noise appears only when the door is moving and not when the opener runs with the door detached, the problem is in the roller, hinge, or track system, not the opener.
In coastal Torrance, we recommend a full door service every 18-24 months. Salt air accelerates rust on metal rollers and hinges, and fine grit from coastal winds works into track channels and spring coils. A service visit includes roller inspection, track cleaning, spring tension check, and opener force and limit verification. Homeowners who stay ahead of this schedule avoid most surprise failures.
Depends on the door material and condition. Steel doors with minor panel dents and good structural integrity can often be repaired and rebalanced for much less than replacement cost. Wooden doors that have absorbed moisture for 20 years near the coast are often approaching end of life. A good rule: if the panels, tracks, and hinges are all sound, repair the specific problem. If multiple systems are failing at once, factor in the cost of full replacement from a company like Anvil Garage Door Repair that does both repair and installation and can give you straight numbers on both options.
The Bottom Line
Troubleshooting your garage door is about knowing where the line is. On one side: sensor cleaning, battery replacement, track clearing, and opener setting adjustments. Those are ten-minute fixes that save you a service call. On the other side: springs, cables, track damage, and opener electronics. Those are professional repairs, and attempting them yourself risks injury and property damage. The diagnostic sequence in this guide teaches you to tell the difference in under ten minutes. When the problem lands on the professional side, call a company that works on the brand you already have without pushing replacement pressure. We’re Anvil Garage Door Repair. Your door, fixed right.
Written by the team at Anvil Garage Door Repair, serving Torrance since 2017.
See the difference
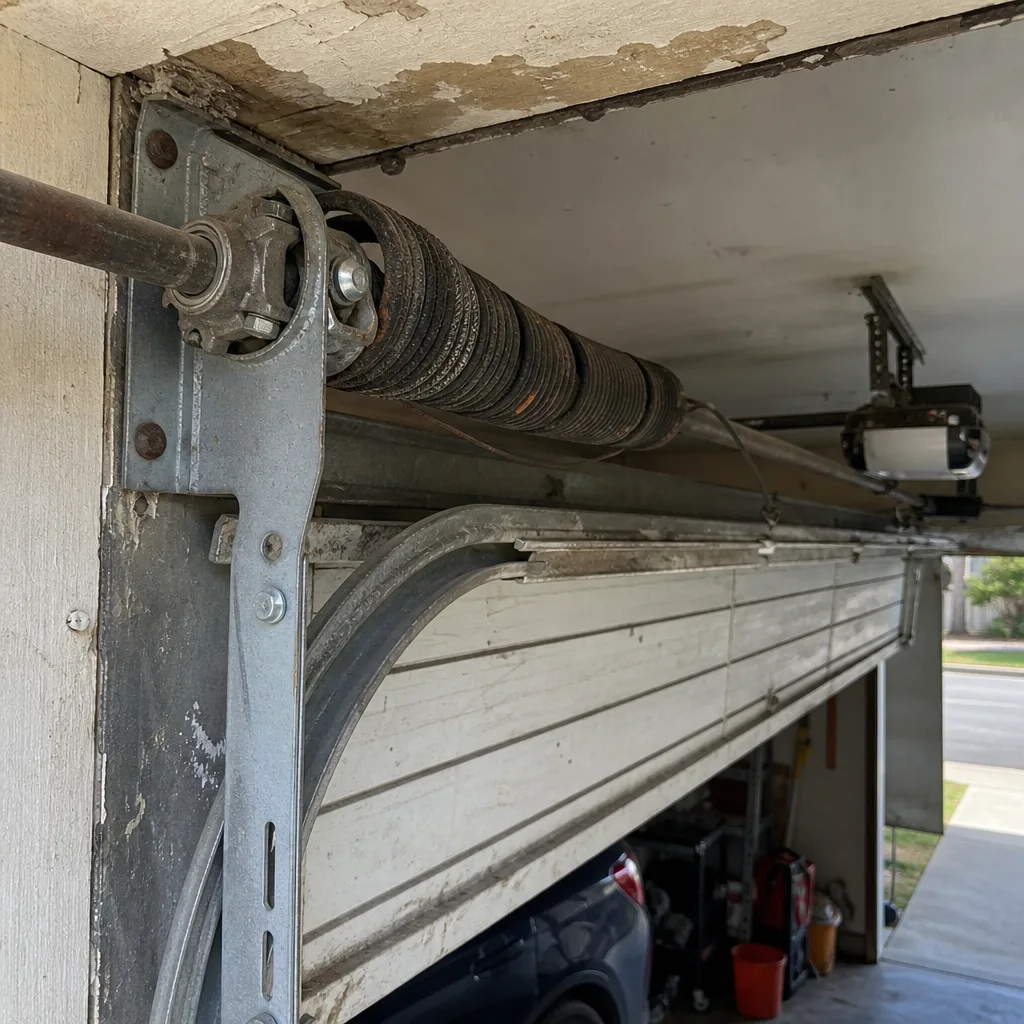 Before
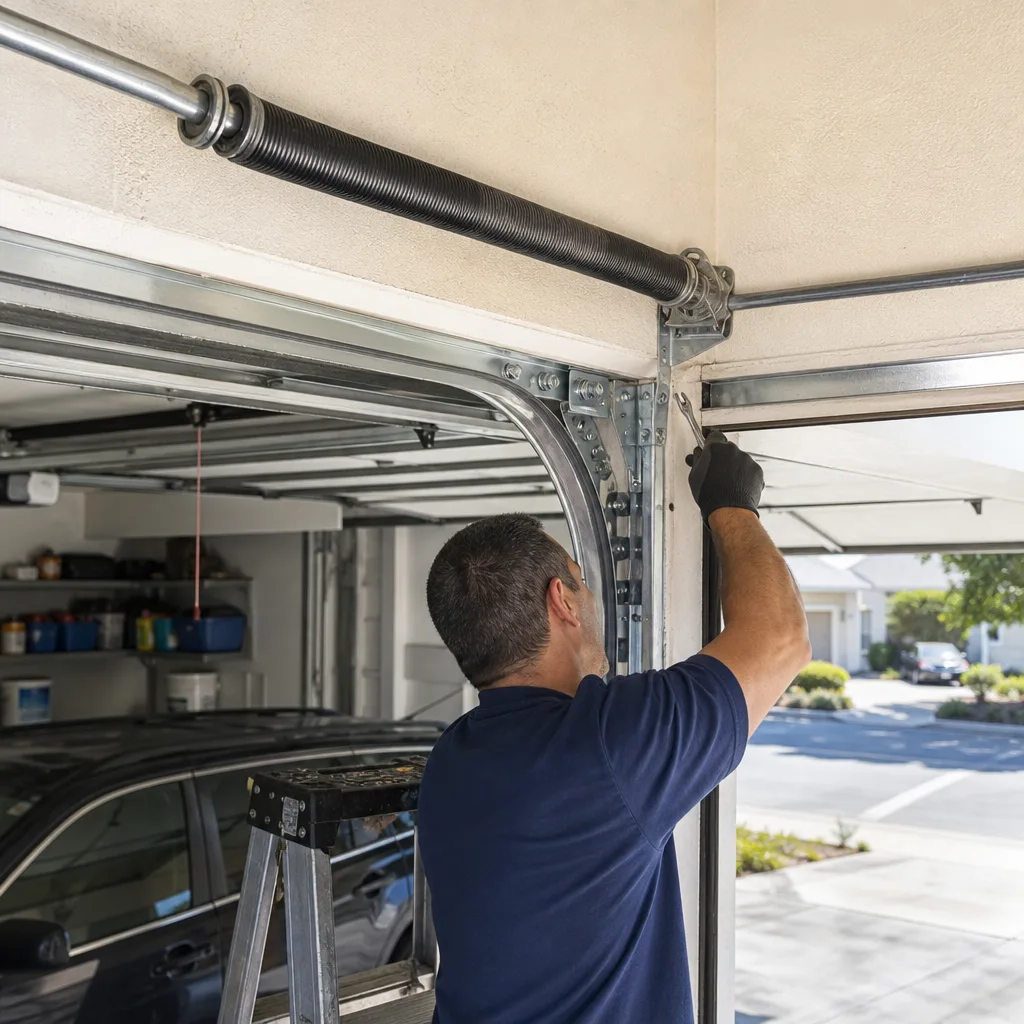 After
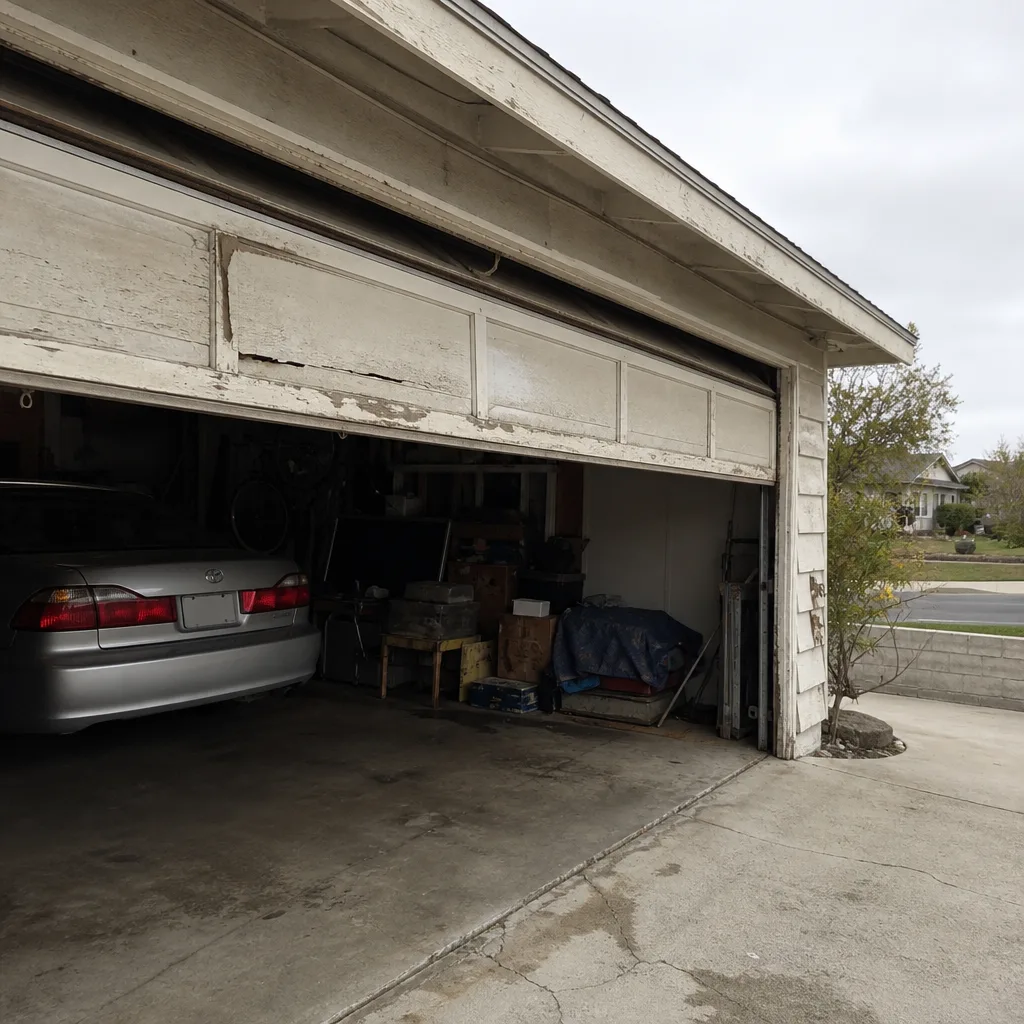 Before
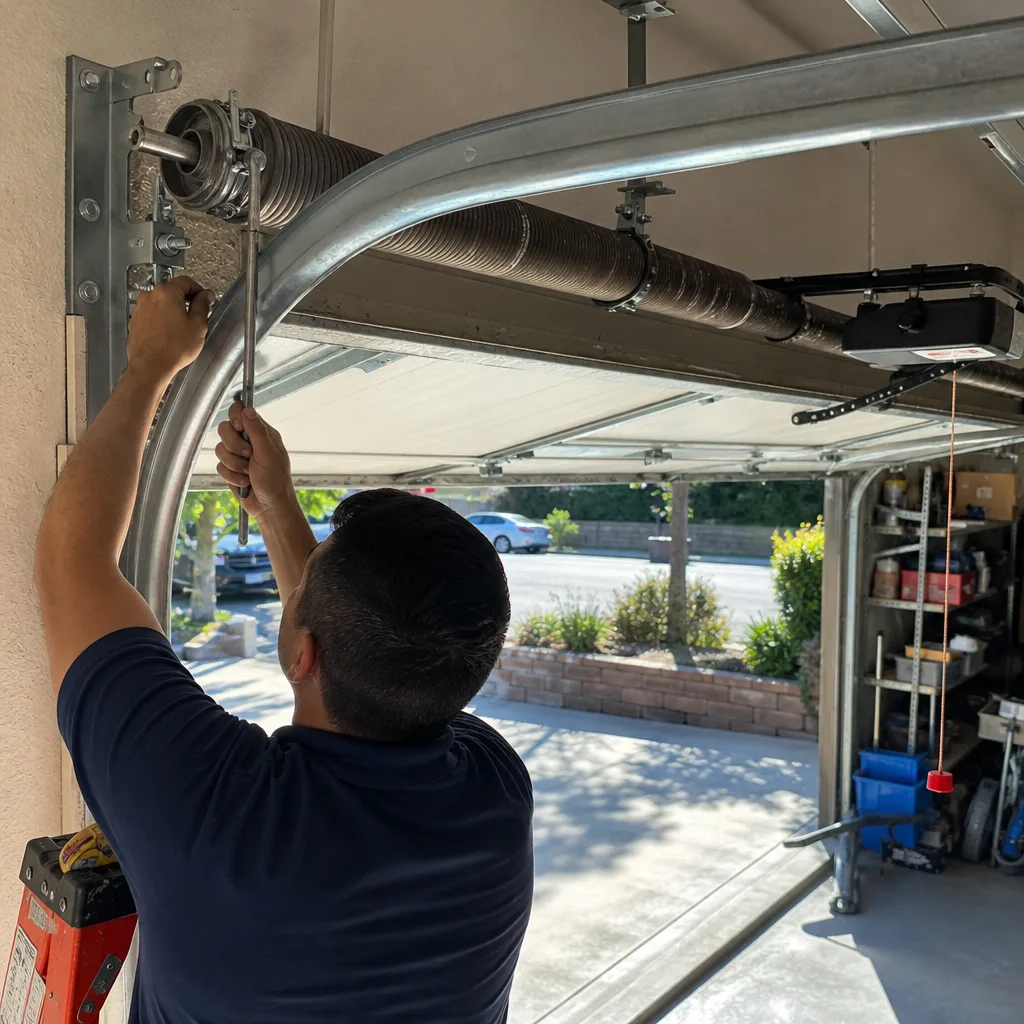 After
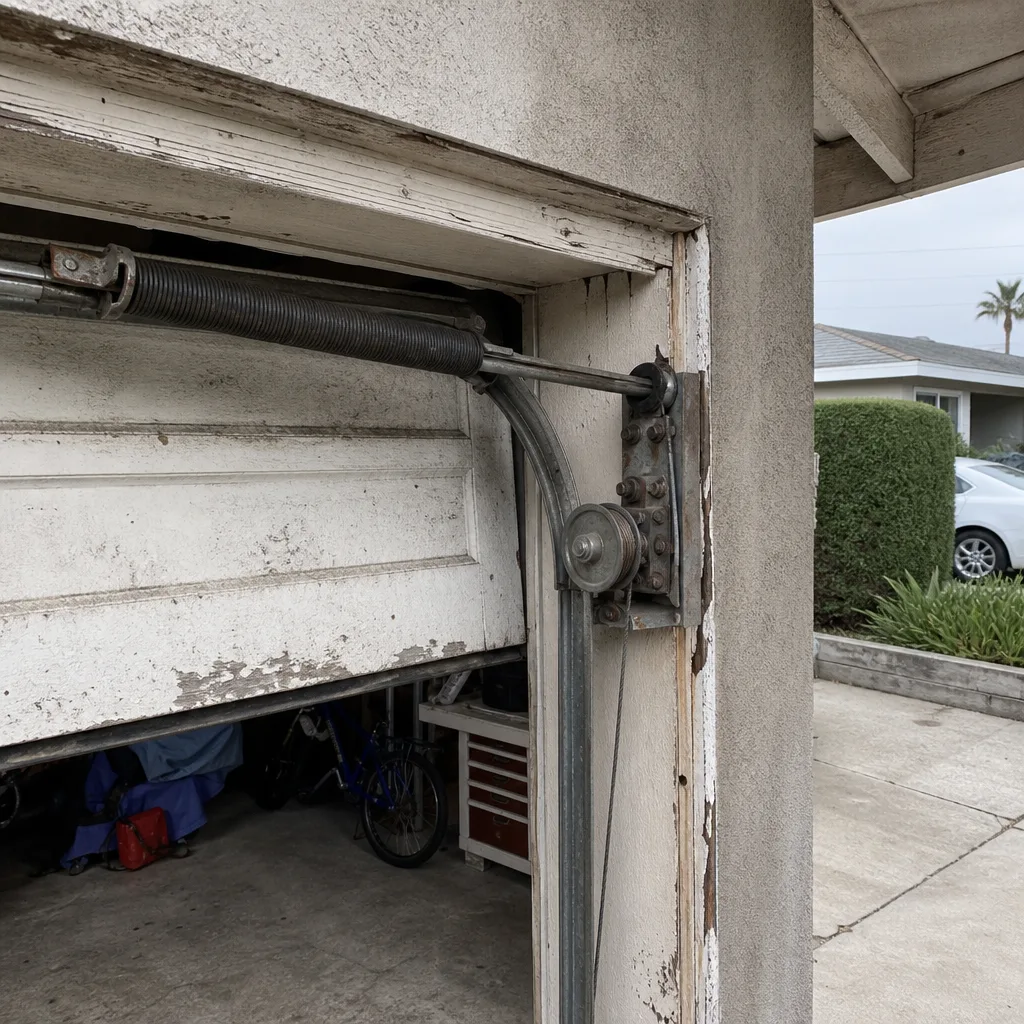 Before
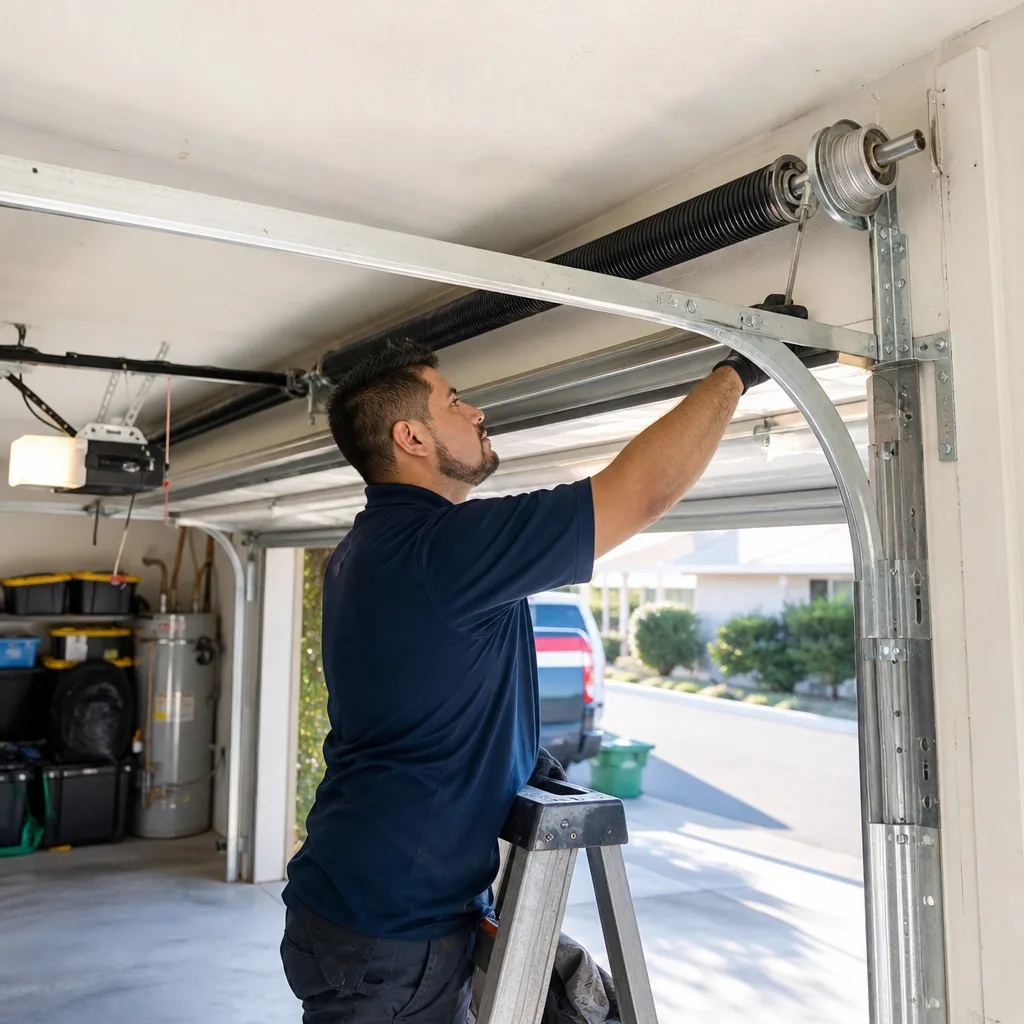 After