
Last updated October 31, 2026
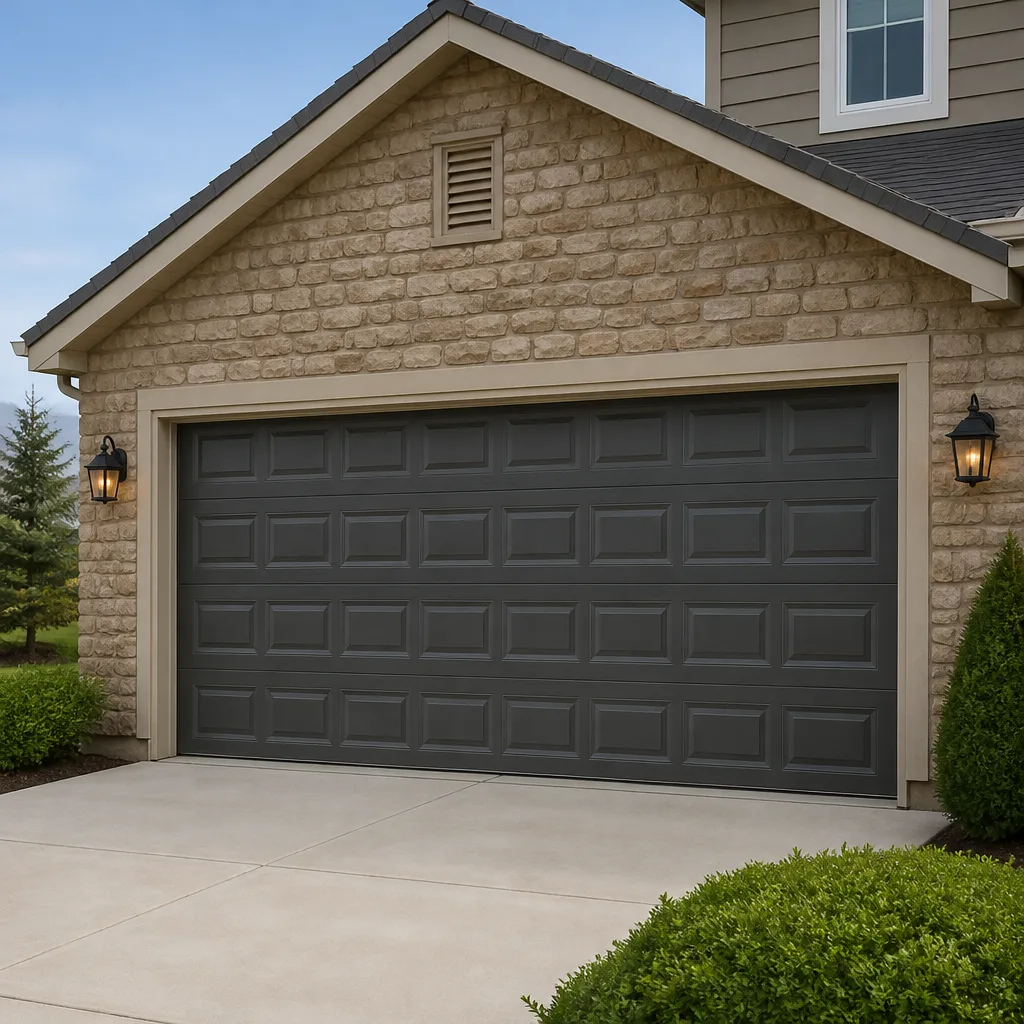 Raised-panel steel
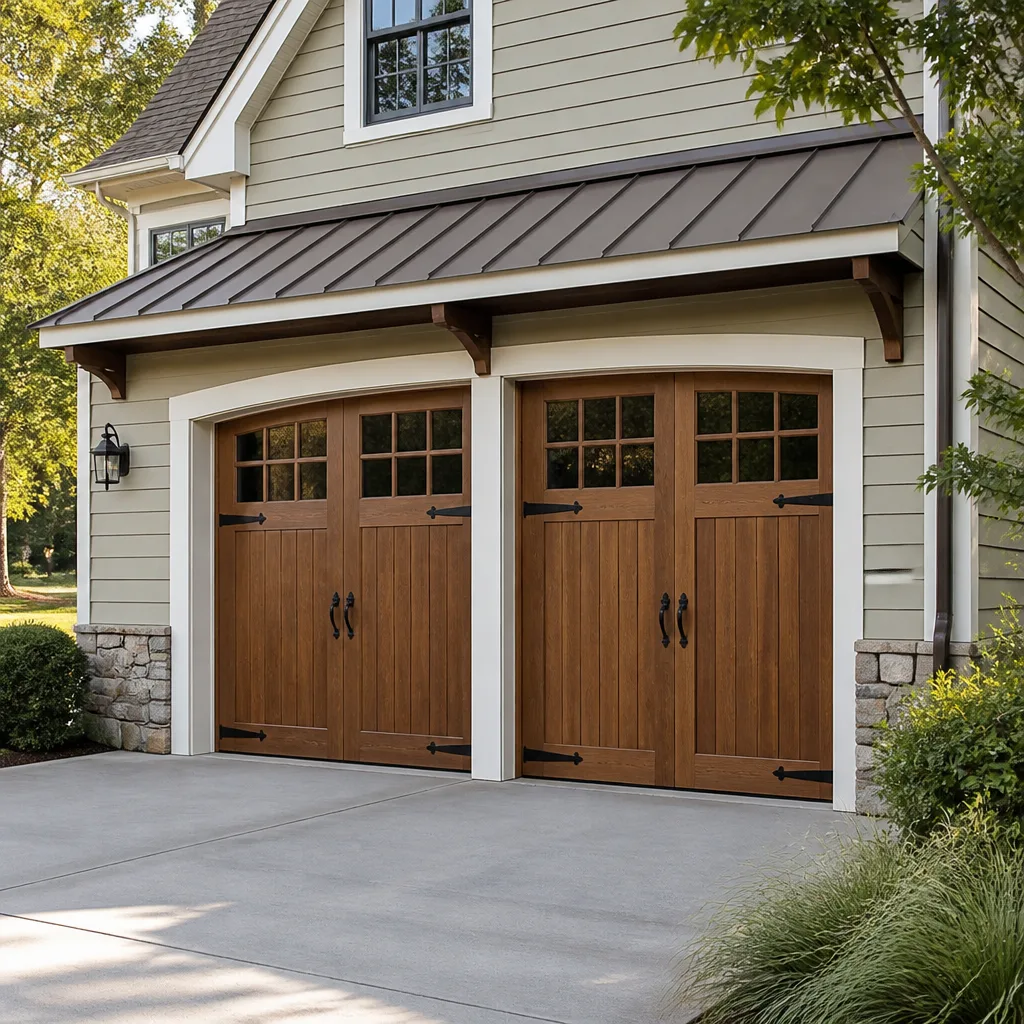 Carriage house
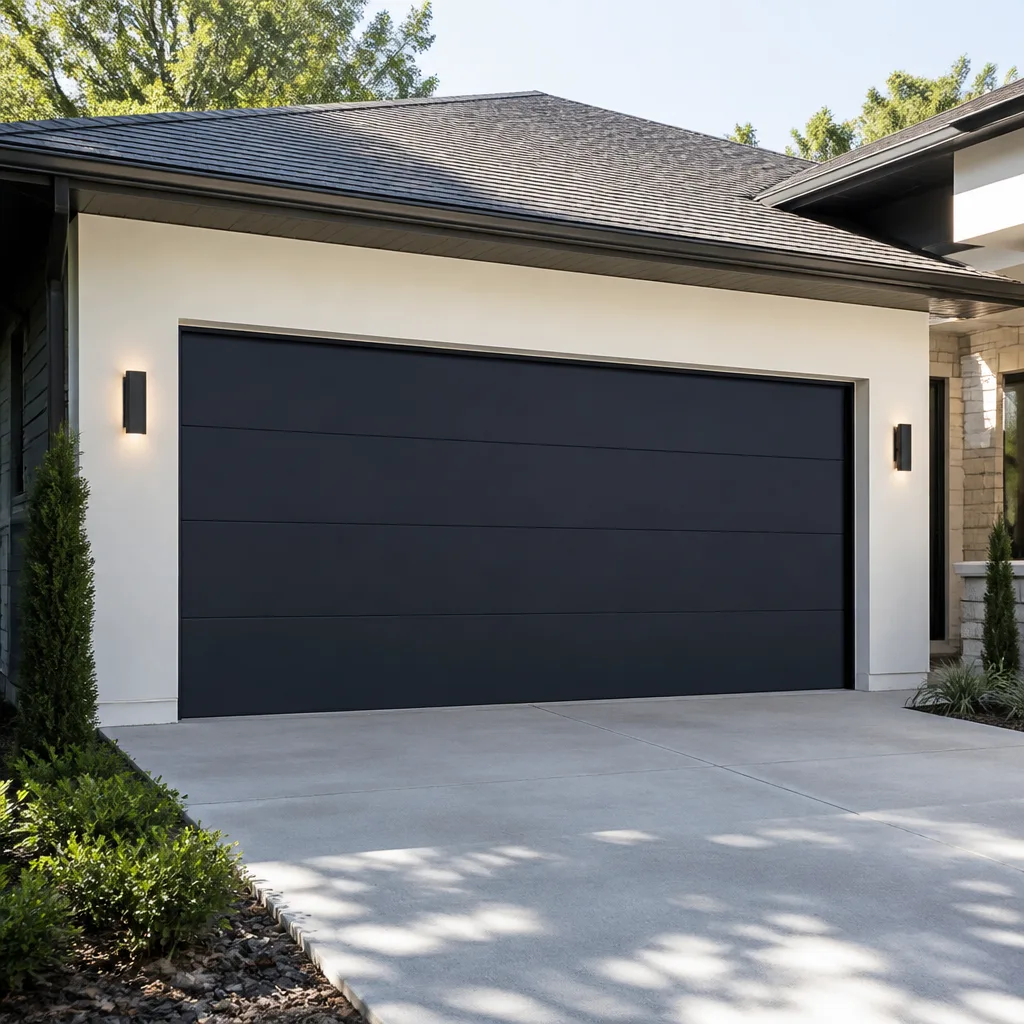 Modern flush
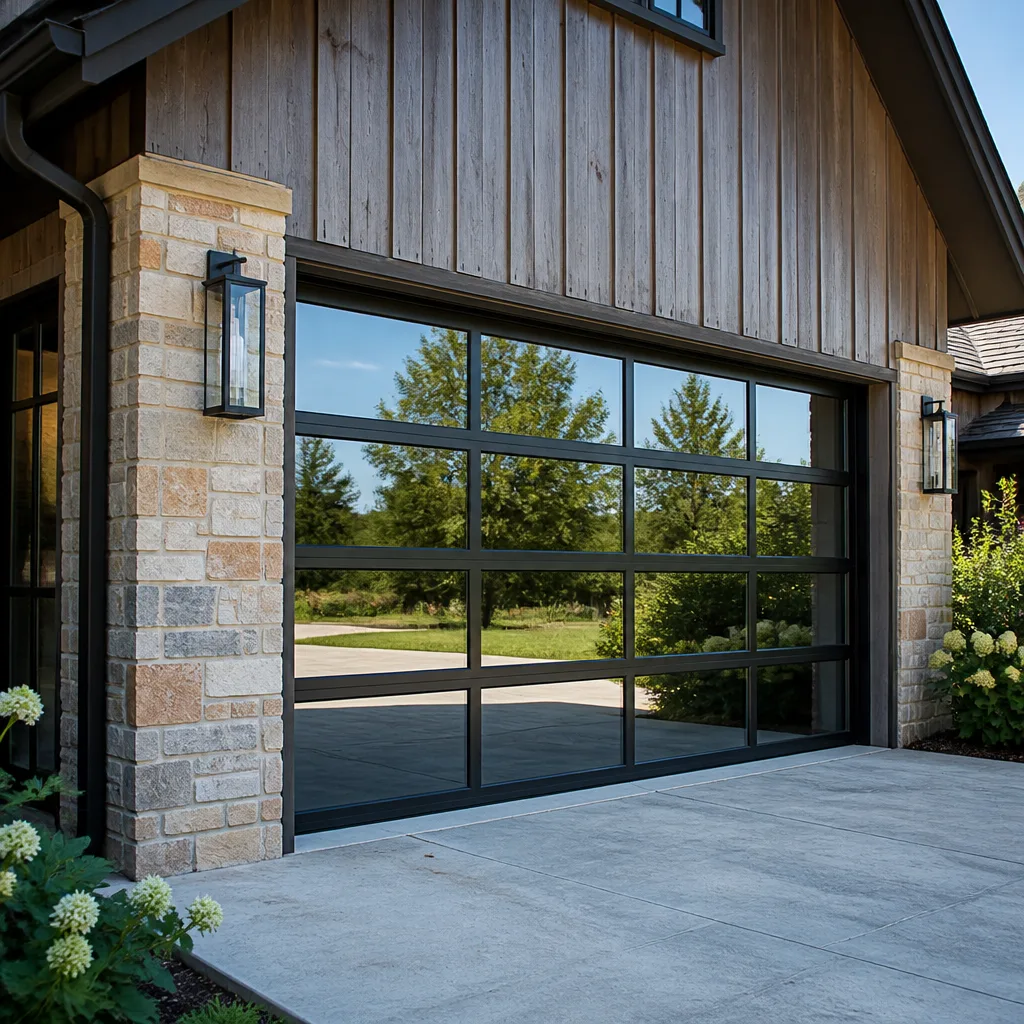 Full-view glass
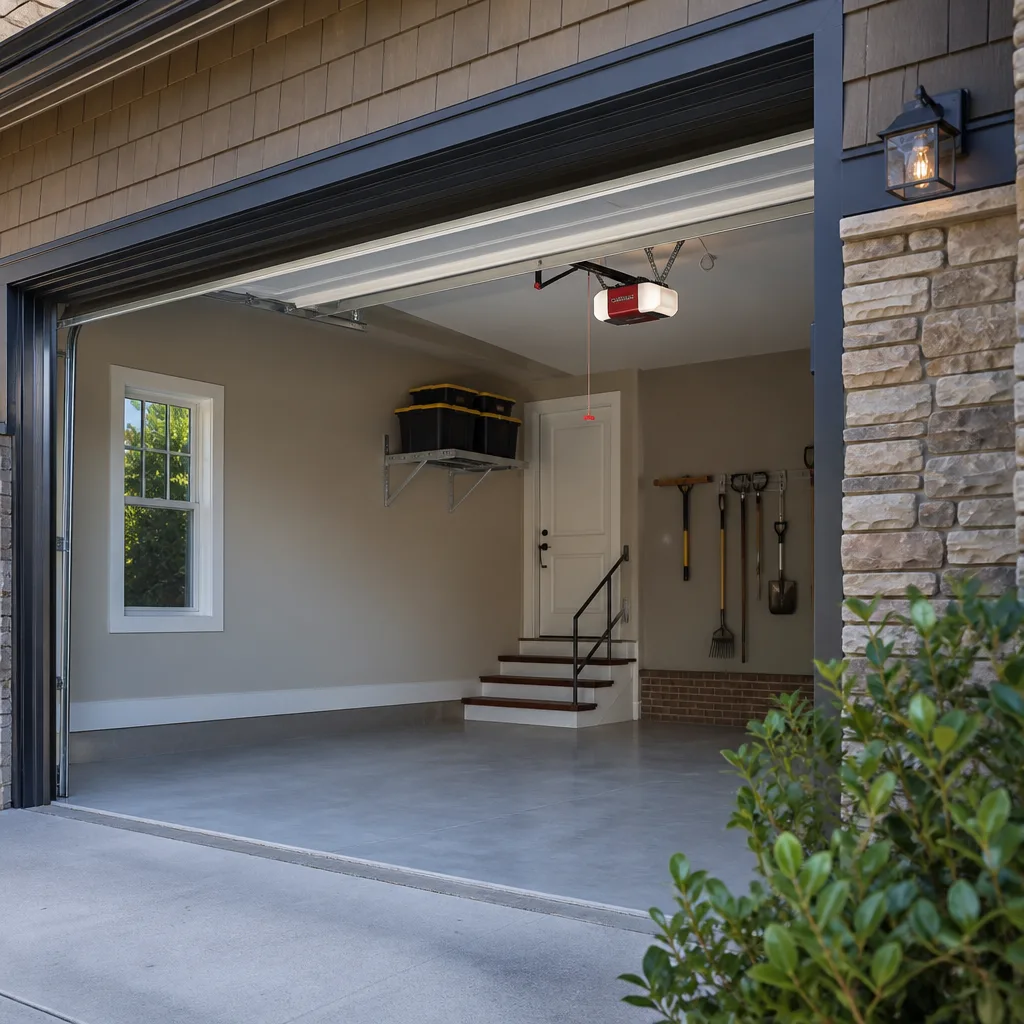 LiftMaster openers
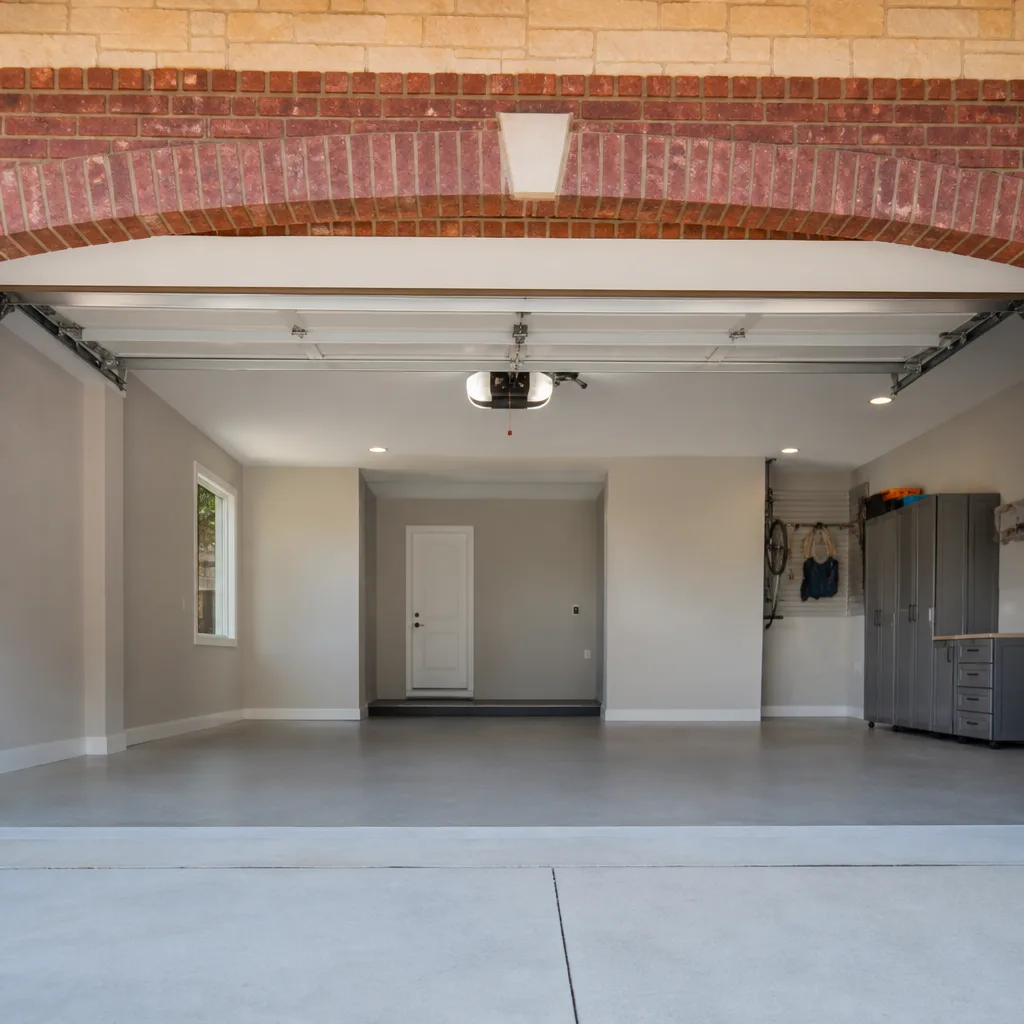 Chamberlain openers
Full 25-point door and opener safety check with every visit - springs, cables, rollers, tracks, and your LiftMaster or Chamberlain opener included
You get a price before we start. It does not change when the truck arrives.
Get your free estimateDIY vs Professional Garage Door: The Torrance Homeowner’s Decision Guide
Every year, roughly 20,000 Americans visit emergency rooms for garage door injuries. Most of them are homeowners who watched a tutorial and felt confident. The counterintuitive part? Almost none of those injuries come from the door itself. They come from the springs. This guide separates the garage door tasks you can genuinely handle in your Torrance home from the ones that send people to the hospital, and it does it without the scare tactics most contractor blogs rely on. You’ll learn which eight jobs are safe, which three aren’t, and where the cost math actually favors calling someone.
Styles & brands we work with
Quick Answer
In Torrance, homeowners can safely handle about eight garage door maintenance tasks: lubrication, sensor cleaning, weatherstripping, track inspection, balance testing, manual release checks, noise diagnosis, and battery replacement on openers. But torsion spring replacement, cable repair, and opener logic board work are professional-only jobs because the stored energy involved can break bones, sever fingers, or worse. The DIY question isn’t about your competence. It’s about whether the task carries a failure mode that punishes the first mistake.
Table of Contents
- The Safe List: 8 Tasks You Can Do This Weekend
- The Unsafe List: 3 Jobs That Require a Technician
- The YouTube Gap: What ‘I Watched a Video’ Actually Gets You
- Parts Sourcing Reality for Torrance DIYers
- The Warranty Trap: When DIY Voids Your Opener Coverage
- Cost Math: The Borderline Cases Where DIY Doesn’t Win
- Brand-Specific Considerations: What Your Door Actually Is
- Common Mistakes to Avoid
- When to Call a Professional
- Frequently Asked Questions
- The Bottom Line
The Safe List: 8 Tasks You Can Do This Weekend
Let’s start with what you can actually handle. None of these tasks require spring tension work, and none of them put your hands near stored energy. In our experience across Torrance, from the older neighborhoods near El Camino College to the newer builds off Hawthorne Boulevard, about half of all garage door service calls we get could have been resolved with one of these eight tasks.
- Track inspection and tightening. Grab a socket set and check the bolts along the vertical and horizontal tracks. Torrance’s coastal air accelerates rust on exposed hardware, especially in homes within two miles of the beach. Loose track bolts cause jerky movement and premature roller wear. Tighten anything wobbling. This takes fifteen minutes.
- Roller cleaning and silicone lubrication. Wipe the rollers with a dry rag, then apply a thin coat of silicone spray to the roller bearings. Don’t use WD-40. It attracts dust and gums up. Do this every six months, and your door will move noticeably quieter.
- Sensor cleaning and alignment checks. The photo eyes near the floor collect dust and spider webs faster than you’d think. A clean microfiber cloth and a can of compressed air fix most “opener won’t close” problems. Check the small LED lights. If one blinks, the beam is misaligned. Gently adjust the sensor housing until both lights shine steady.
- Weatherstripping replacement. The rubber seal along the bottom of your door cracks after three to five years in Torrance’s sun. Replacement strips cost $15 to $40 at any hardware store. Slide out the old one, slide in the new one, cut to length with scissors or tin snips. No tools beyond that.
- Balance testing. Pull the red manual release handle while the door is closed. Lift the door halfway by hand. It should stay put. If it falls or flies up, the springs are losing tension. Don’t adjust them yourself. But knowing the door is out of balance before it fails completely lets you schedule a repair on your terms rather than discovering the problem at 7 a.m. on a Monday.
- Manual release verification. Twice a year, test that the red emergency cord works. You need to know how to open your door during a power outage, and southern California’s rolling blackouts make this more than a theoretical concern. Pull the cord, lift the door manually, close it, and re-engage the opener carriage. This is a five-minute task that most homeowners never practice until they need it.
- Noise diagnosis. Different sounds mean different problems. A grinding noise usually points to a failing opener gear. A squeaking noise is a dry roller or bearing. A rattling noise means loose hardware. Knowing which sound you’re hearing helps you decide between a $20 DIY fix and a call to a Garage Door Repair in Torrance specialist.
- Opener battery replacement. The backup battery inside most modern openers, especially LiftMaster and Chamberlain units with wall consoles, lasts about three to five years. When it dies, the opener still works but won’t function during outages. Replacing it requires a step stool and five minutes. The battery is typically a 12V sealed lead-acid unit available for $25 to $40 online.
None of these tasks require touching the springs, cables, or opener motor, and none of them carry meaningful injury risk. Do them confidently.
The Unsafe List: 3 Jobs That Require a Technician
Here’s the part most DIY guides gloss over. There are exactly three garage door components that store enough energy to seriously injure you when that energy releases unexpectedly. Torsion springs, extension springs with cables, and the opener logic board under power. Let’s walk through the physics so you understand why these aren’t on the safe list.
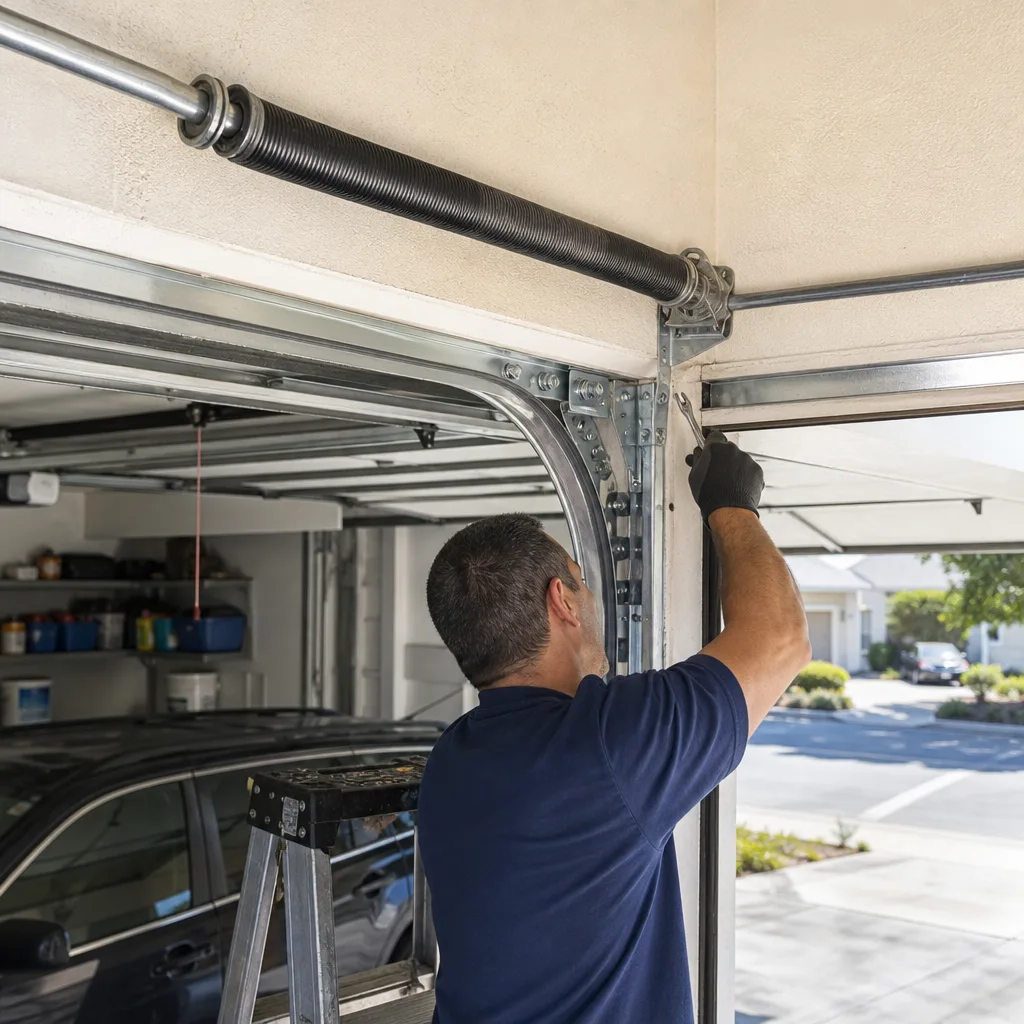
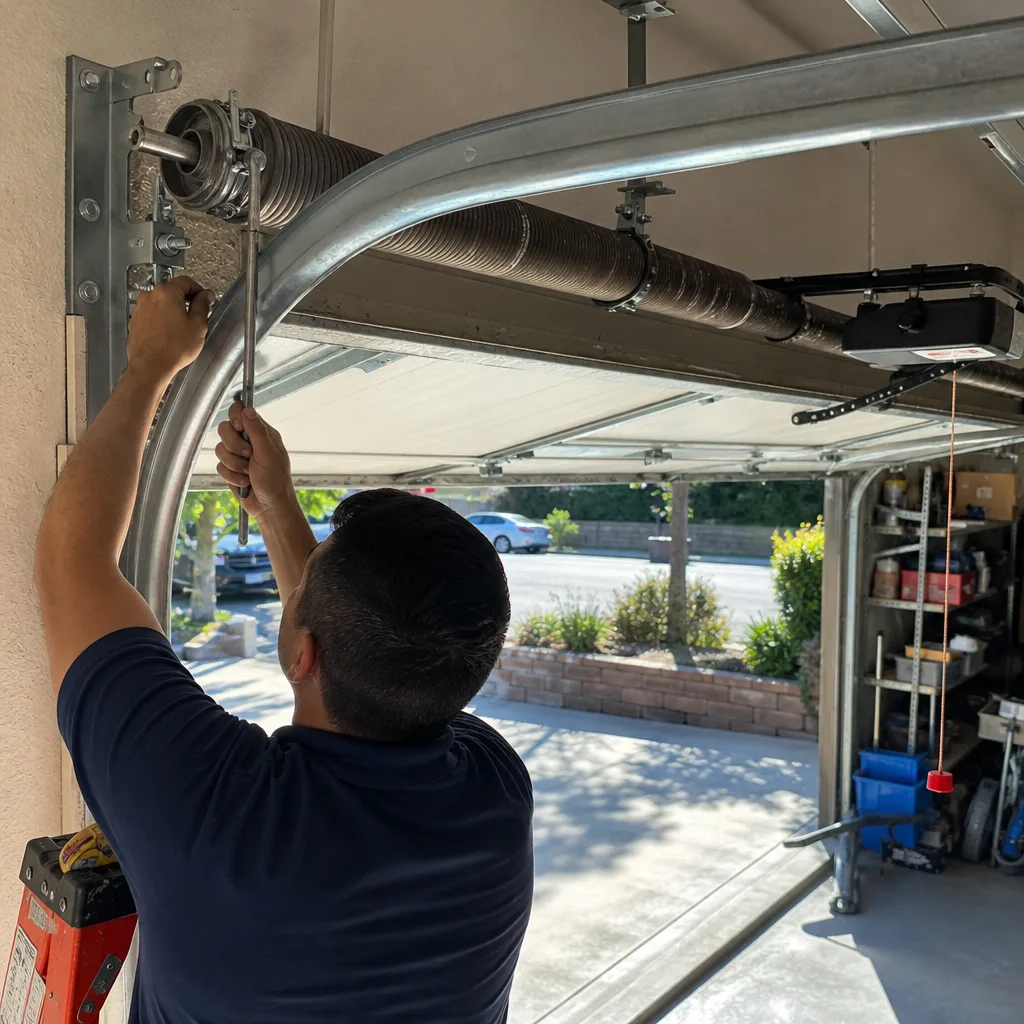
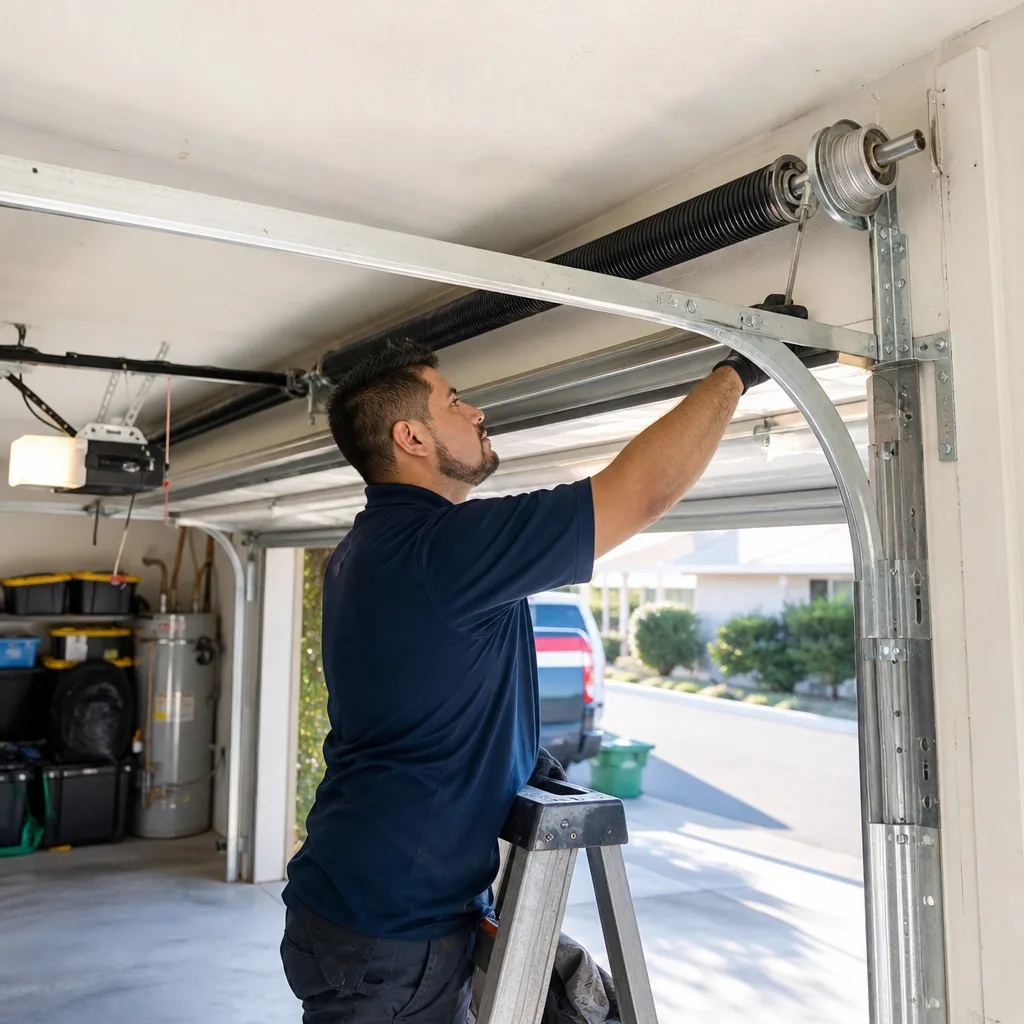
1. Torsion spring replacement. A torsion spring on a typical double-car garage door in Torrance holds enough rotational energy to lift 200 pounds of door through a full cycle. When a spring snaps, that energy has already been released, which is why the snap sounds like a gunshot. But installing a new spring requires winding it under tension. If your winding bar slips out of the cone, the spring unwinds instantly. That bar becomes a projectile with enough force to break your wrist, your jaw, or the drywall behind you. The correct procedure involves two specific-diameter steel winding bars, not screwdriver handles or rebar, and a precise count of quarter-turns based on the spring’s wire diameter and the door’s weight. Get either variable wrong and the door slams shut or flies up when you release it. In the 12 years I’ve been working on doors in Torrance, I’ve repaired three doors where a DIY spring attempt failed mid-install. Two of those homeowners were lucky enough to walk away. One wasn’t.
2. Cable replacement or repair. Cables work alongside the springs, routing the lifting force through pulleys to the bottom brackets. They don’t store energy on their own, but they’re under constant tension from the springs. When a cable frays and snaps, it whips. When you’re replacing a cable, you’re removing tension from a system while your hands are inside it. The bottom bracket bolts also hold that tension. If you loosen the wrong bolt while the spring is still wound, the bracket can tear off the door section and take fingers with it. Most cable replacements require unwinding the spring first, doing the cable work, then rewinding the spring. That brings you right back to the torsion spring problem.
3. Opener logic board replacement or internal repair. This one isn’t about physical injury. It’s about electrical damage. Modern openers from LiftMaster, Chamberlain, Genie, and Raynor use circuit boards that are static-sensitive and connected to capacitor banks that hold a charge even after the unit is unplugged. Touching the wrong contact can discharge a capacitor through your hand. More likely, though, you’ll fry a board with static electricity from your body and turn a $150 repair into a $400 replacement. Openers also involve wire routing through the powerhead that can pinch or cut if reassembled wrong. We handle Garage Door Opener Repair in Torrance as a dedicated service line specifically because openers fail in ways that doors don’t, and diagnosing them requires a different knowledge base than mechanical door work.
The YouTube Gap: What ‘I Watched a Video’ Actually Gets You
A YouTube tutorial shows you what a successful repair looks like. It rarely shows you what the failure mode is when things go wrong, and that’s where injuries happen. The gap isn’t in the steps. It’s in the judgment.
Watch a torsion spring replacement video, and you’ll see a technician wind the spring in about eight minutes. What the video doesn’t show is that the technician has done this hundreds of times and has calibrated his sense of how much resistance is normal. He knows what “too tight” feels like, and he knows the exact moment to stop applying force. A first-timer doesn’t have that calibration. When the spring resists slightly more than expected, the amateur instinct is to push harder. That’s the moment the winding bar slips.
The second gap is tooling. Videos show professional winding bars, spring gauges, and torque wrenches. What they don’t tell you is that the winding bars sold at Harbor Freight are sometimes the wrong diameter for the cone holes on your particular spring, and a bar that’s even 1/8 inch undersized will slip under load. The same issue applies to the spring itself. A video might say “support the door with a 2×4 and a jack stand,” but if the door is heavier than the tutorial expects, that 2×4 becomes a lever that shifts under load. Now you’re under a falling door with a live spring above you.
The third gap is context. In Torrance, garage doors run larger than the national average because so many homes have three-car garages and taller ceilings. A 16×7 door with two standard-weight steel sections behaves very differently than a 16×8 door with an insulated Amarr or Clopay panel. The spring sizing charts in a generic video won’t match your door’s weight chart. If you install the wrong spring, the door imbalances immediately. Best case, the opener strains and burns out its gear. Worst case, the door drops when you test it and you’re underneath.
We’re not saying you can’t learn. We’re saying that spring work isn’t a learning environment. The cost of the wrong guess is medical, not monetary.
Parts Sourcing Reality for Torrance DIYers
Even if you’ve decided to tackle a borderline repair yourself, you’ll hit a parts problem quickly. The garage door parts available to consumers are not the same parts a technician can source. This matters because the wrong part fails differently than the right one.
What you can get locally: Torrance has a Harbor Freight on Hawthorne Boulevard, and they stock generic garage door hardware: universal remotes, photo-eye sensors, roller kits, and weatherstripping. Amazon delivers LiftMaster and Chamberlain remotes, keypads, and logic boards, and those are genuine parts if you buy from the official store. Home Depot and Lowe’s in Torrance carry replacement springs, but only in the standard sizes for single-car lightweight doors. If your door is a heavier double-car model, you’re out of luck at retail.
What you can’t get without a trade account: Correct-spec torsion springs are not a retail product. A spring’s rating depends on wire diameter, inside diameter, length, and winding direction, and a door needs two springs matched to the door’s exact weight, not approximate weight. Trade suppliers in the greater Torrance area sell to licensed contractors and won’t sell to walk-in homeowners. When you buy a “universal” spring from an online marketplace, you’re getting a spring rated for a range of door weights, which means it’s correct for none of them. Installing a universal spring on a door it wasn’t rated for causes the spring to fatigue early. It might last a year. It might snap in three months. When it snaps, it snaps violently, and whatever is near the spring at that moment takes the hit.
The substitution problem: Let’s say you can’t find a Genie-compatible logic board locally, so you buy a generic “universal garage door opener control board” from an online seller. The board powers up. The opener moves. Six weeks later, the board fails because its relay wasn’t rated for the Genie motor’s draw. Now you’re out the cost of the board, the time you spent installing it, and you still need a correct repair. Worse, a board failure can cook the opener’s transformer, which turns your $60 board gamble into a full opener replacement. This is a scenario we see in Torrance regularly, particularly in the older homes off Crenshaw Boulevard where openers were installed 15 or 20 years ago and parts are no longer factory-fresh.
The Warranty Trap: When DIY Voids Your Opener Coverage
This is the clause most Torrance homeowners discover after the fact. LiftMaster, Chamberlain, Genie, and Raynor openers all carry manufacturer warranties that are explicitly voided by unauthorized repair. The language is consistent across brands: opening the powerhead, replacing internal components yourself, or modifying the unit in any way ends the warranty at that moment. You don’t need to break anything. The act of opening it is enough.
Here’s what that means in practice. You have a Chamberlain opener that’s 18 months old, still under its two-year motor warranty. The logic board fails. You find a “direct replacement” board online for $85 and install it in an afternoon. Two months later, the motor seizes. You call Chamberlain, and they ask for proof of installation by a qualified technician. You don’t have it. The warranty is gone. The motor replacement would have been covered. Now it’s $300 to $500 out of pocket.
The same applies to spring work, though the mechanics are different. Most door manufacturers, including Clopay and Amarr, offer warranties on the door sections but exclude the springs after the first year or two. If you install a spring yourself and the door section cracks because the spring was under-tensioned, the door manufacturer will point to the installation error and deny the claim. Even if the spring was correctly installed, you’ll be in the position of proving it was correctly installed, and you don’t have a work order or a company behind you. A professional installation creates an evidence trail. Your weekend project creates a headache.
If your opener is under warranty and something fails, call the manufacturer first. Confirm whether your specific issue is covered. If it is, a professional repair is almost always the cheaper path because the parts and labor may be covered. If it isn’t, then you still need the correct repair, and Garage Door Opener Repair in Torrance specialists diagnose and fix the unit properly, often for less than the cost of a DIY mistake on a newer opener.
Cost Math: The Borderline Cases Where DIY Doesn’t Win
There’s a middle ground between the safe list and the unsafe list. These are the tasks where the DIY method is technically possible but the math doesn’t work in your favor once you account for time, tools, and the cost of a mistake. Let’s be honest about three of them.
Sensor alignment. A misaligned photo eye shuts down your opener’s closing function. The DIY fix is a floor-level project: clean the lenses, adjust the housing, test the beam. It takes most people 30 to 60 minutes, and many never get the LED lights steady. A service call for sensor alignment in Torrance typically runs $75 to $120, and the technician completes the job in 15 minutes because they’ve done it hundreds of times. If you have a busy week, that $75 call is cheaper than your Saturday morning. And if the sensor is actually failing rather than misaligned, the DIY approach wastes an hour before revealing that you need a $40 replacement sensor assembly anyway. The call gets you a diagnosis plus the fix in one visit.
Bottom weatherstripping. This one is genuinely DIYable, and we listed it on the safe list. But there’s a caveat. If your door has an aluminum retainer channel that holds the seal, and that channel is bent from years of driveway contact, replacing the rubber doesn’t solve the sealing problem. You need the retainer replaced too. The full job requires a drill, new self-tapping screws, and your time under the door, and it’s finicky. Total DIY time runs two to three hours for a first-timer. A professional does it in 45 minutes. Cost for materials is $40 to $80 at retail. Whether that’s worth your afternoon is a judgment call, but it tends to land on the side of “call someone” for most Torrance homeowners with full-time jobs.
Manual release cord replacement. The red handle and cord that hang from the carriage are a five-minute replacement if you have the exact part. If you don’t, a universal cord kit costs $15. The challenge is reaching the carriage without a ladder tall enough for your ceiling height. Homes in the Hollywood Riviera and the newer tracts in south Torrance often have 10-foot or taller garage ceilings. A ladder that tall costs more than the service call. This one depends entirely on your equipment situation. If you have the ladder, do it. If you don’t, the service call wins.
Brand-Specific Considerations: What Your Door Actually Is
Most Torrance homeowners know the brand of their opener but not the brand of their door. That matters more than you’d think, because the door and the opener are separate systems that work together, and they fail differently.
If your opener is a LiftMaster, you own the most common opener in America, and you’ll find more compatible parts than for any other brand. If your opener is a Chamberlain, you have the same parent company and similar parts availability, but your unit likely has a different logic board revision than the LiftMaster equivalent, which makes board-level repair slightly more specific. If your opener is a Genie, you have a screw-drive or belt-drive system that requires different maintenance than chain-drive units, and your capacitors are in a different location on the board. If you have a Raynor opener, you own a more specialized product that shares parts with some Chamberlain units but has its own firmware quirks. None of this means any brand is better. It means that when something fails, knowing the exact model number matters more than knowing the brand name.
The door side is similar. A Clopay door uses different hinge spacing than an Amarr door. A Wayne Dalton door often uses a torsion system that is mounted differently than a typical Clopay setup. Raynor doors have their own bottom bracket configurations. When you’re ordering hinges, rollers, or brackets online, you need the manufacturer’s exact part. A “universal” hinge is universal only in the sense that it roughly fits. It wears out three times faster than the correct part because the steel gauge is thinner.
This is where brand familiarity becomes a competitive advantage for a repair company. Anvil Garage Door Repair works on all eight of the major door and opener brands: LiftMaster, Chamberlain, Genie, Clopay, Amarr, Wayne Dalton, Craftsman, and Raynor. That’s not a marketing list. It means that when we arrive at a Torrance home, we already know the failure patterns for the specific equipment on that home, whether it’s a Genie screw drive with a worn carriage block or a Clopay door with sagging section hinges. The diagnosis happens faster, and the correct part goes on the first time. Your door. Fixed right.
For full replacements, see Garage Door Installation in Torrance for what’s involved in a new door or opener install. For opener-specific failures, Garage Door Opener Repair in Torrance covers the electrical and logic side in depth. And the Anvil Garage Door Repair home page lays out the full service picture.
Common Mistakes to Avoid
- Using a ratchet strap as a spring winding tool. Some DIY forums recommend a ratchet strap to hold tension while replacing a spring. Straps stretch. When they slip, the spring unwinds. This is how fingers are lost. Do not.
- Lubricating the tracks. The tracks should stay dry. Oil or grease on the tracks makes the rollers slide instead of roll, which wears flat spots into the roller bearings and makes the door louder, not quieter. Lubricate the rollers and hinges, never the track itself.
- Replacing one spring instead of both. Torsion springs wear as a pair. If one snapped, the other is near end-of-life. Replacing only one means the door is now running on mismatched springs, which accelerates wear on the opener and causes the door to drift. Always replace both.
- Buying the cheapest opener remote on Amazon. The $12 universal remote might work for a month, and then its frequency drifts and it stops pairing, or it opens a neighbor’s door. Buy the OEM remote for your specific opener model. The price difference is $20 and the reliability difference is years.
- Forgetting to disengage the opener before manual repairs. Anyone who has pulled a manual release while the opener was still engaged knows the release handle snaps upward with surprising force. Disengage the opener, then work. Also unplug it if you’re touching electrical components.
- Ignoring a cracking sound during operation. If your door makes a sharp cracking sound when opening, that’s a hinge or bracket failing under load. It’s not cosmetic. One bracket failure can drop the door off the track entirely, which at minimum takes the door out of service and at worst causes injury. Address it early.
- Assuming a newer home means a newer door. In Torrance, many homes built in the 1980s and 1990s have original doors, and many homes built in the 2000s have doors that have never been serviced. Age isn’t the point. Cycle count is. A door that has opened twice a day for 20 years has the equivalent of 60,000 miles on almost every component. Treat it accordingly.
When to Call a Professional
Call a professional when the task involves torsion springs, cables under tension, or opener internals. Call when you hear a grinding noise that isn’t fixed by lubricating the rollers. Call when your door is out of balance after a balance test. Call when your opener’s wall console shows an error code you don’t understand. Call when the door has come off its track, because putting it back under tension is dangerous even if the door itself is undamaged. Call when you value your Saturday more than you value the $100 you’d save doing it yourself. Anvil Garage Door Repair offers free estimates in Torrance. Call (877) 705-2052 and you’ll get a straight answer about whether your specific problem is worth a service call or whether it’s something you can handle on your own. We’d rather tell you the truth than take a job you don’t need done.
Frequently Asked Questions
Typical repair costs in Torrance run from $75 for minor adjustments like sensor alignment to $180 to $340 for a spring replacement on a standard double-car door. Opener repairs usually land between $120 and $300 depending on whether the fix is a gear replacement or a logic board. Full door replacements vary widely based on size, insulation, and brand, starting around $1,100 for a basic single-car door and running up from there. Call (877) 705-2052 for an exact quote on your specific door and problem. Estimates are free.
You can, but you shouldn’t. Torsion springs store enough energy to break bones when that energy releases unexpectedly, and the winding bars used to tension them can become projectiles if they slip. The injury statistics for DIY spring work are not a rounding error. This is the one job where the cost of a mistake is medical, and the correct answer is to call a professional.
Torsion spring replacement is the most dangerous, followed by cable repair under tension and any work that requires unwinding and rewinding springs. Opener internal repair carries electrical risks but not the same physical injury potential. The unifying factor across dangerous repairs is stored mechanical energy, not electrical voltage.
Most “won’t close” problems in Torrance homes trace back to misaligned or dirty photo-eye sensors. Dust from coastal air and dry winds accumulates on the lenses faster than people expect. Clean the lenses, check the LED indicators, and test again. If the sensors are steady and the door still reverses, the problem is likely in the opener’s force settings or travel limits, and that’s a service call.
If the opener is under eight years old and the failure is a gear, capacitor, or logic board, repair is usually cheaper than replacement. If the opener is 15 years old or older and the failure is the motor itself, replacement makes more sense, because the remaining components are near end-of-life anyway. A professional can tell you which side of the line your specific unit falls on without upselling you either direction.
Most repairs take 30 to 90 minutes once the technician arrives. Spring replacement on a standard door runs about 45 minutes. Opener logic board replacement runs about 30 minutes. A full door installation takes three to five hours. The variable is parts availability, which is why a repair company with broad brand familiarity has an advantage: the right part is already on the truck more often than not.
The Bottom Line
The DIY versus professional question comes down to which tasks carry injury risk no amount of tutorial-watching eliminates. Lubrication, sensor cleaning, weatherstripping, track tightening, balance testing, and the other safe-list tasks are genuinely within reach for most Torrance homeowners. Springs, cables, and opener internals are not. The cost math on borderline cases often favors calling a professional once you factor in the value of your time and the price of a mistake. And the warranty consequences of DIY opener work can turn a cheap repair into an expensive replacement. Work on the brand you already have, yes. But know where the line is. Opener or door, same call, same team. Call (877) 705-2052 for a free estimate and a straight answer. Built to the Anvil standard, in Torrance and across the South Bay.
Written by the team at Anvil Garage Door Repair, serving Torrance since 2017.
See the difference
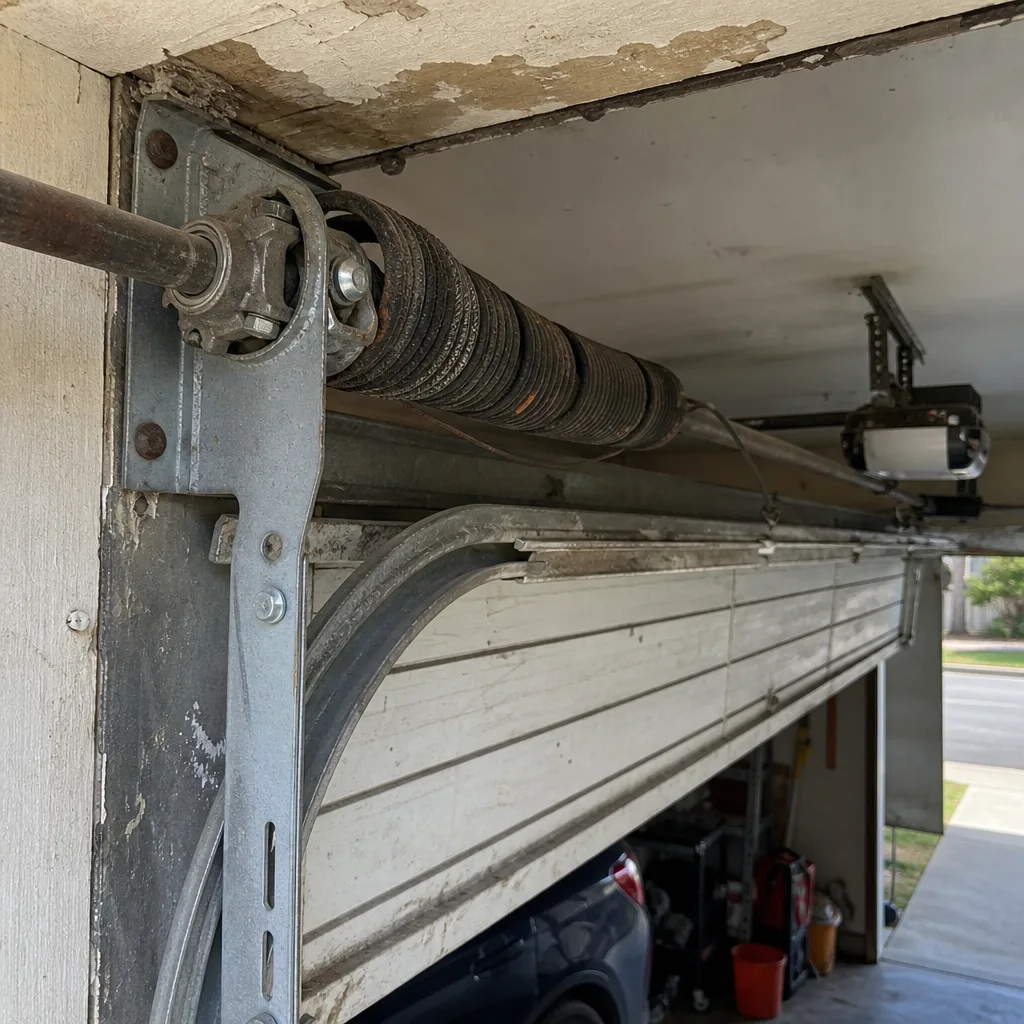 Before
 After
 Before
 After
 Before
 After